Tutorial Part 11: Password-Protected Pages
Finally, let’s talk about how to password-protect pages that you only want those with proper permissions to be able to access when they visit the website. Maybe you want to hide a document page for special bulk pricing or an information page for customers behind a password. There is an easy way to do this from within the CMS.
Navigate to the page that you want to add password-protection. (In this case “Bulk Sales”) You need to either save it as a draft or publish it before you can access the Password-Protect feature. Go to the settings tab in the editing screen.
The default setting for Privacy is Public, which means that the page will be available to view for anyone who comes to the website once it has been published. You can change this by clicking on the Set page privacy button and revealing the pop-up that has more Privacy options, shown below.
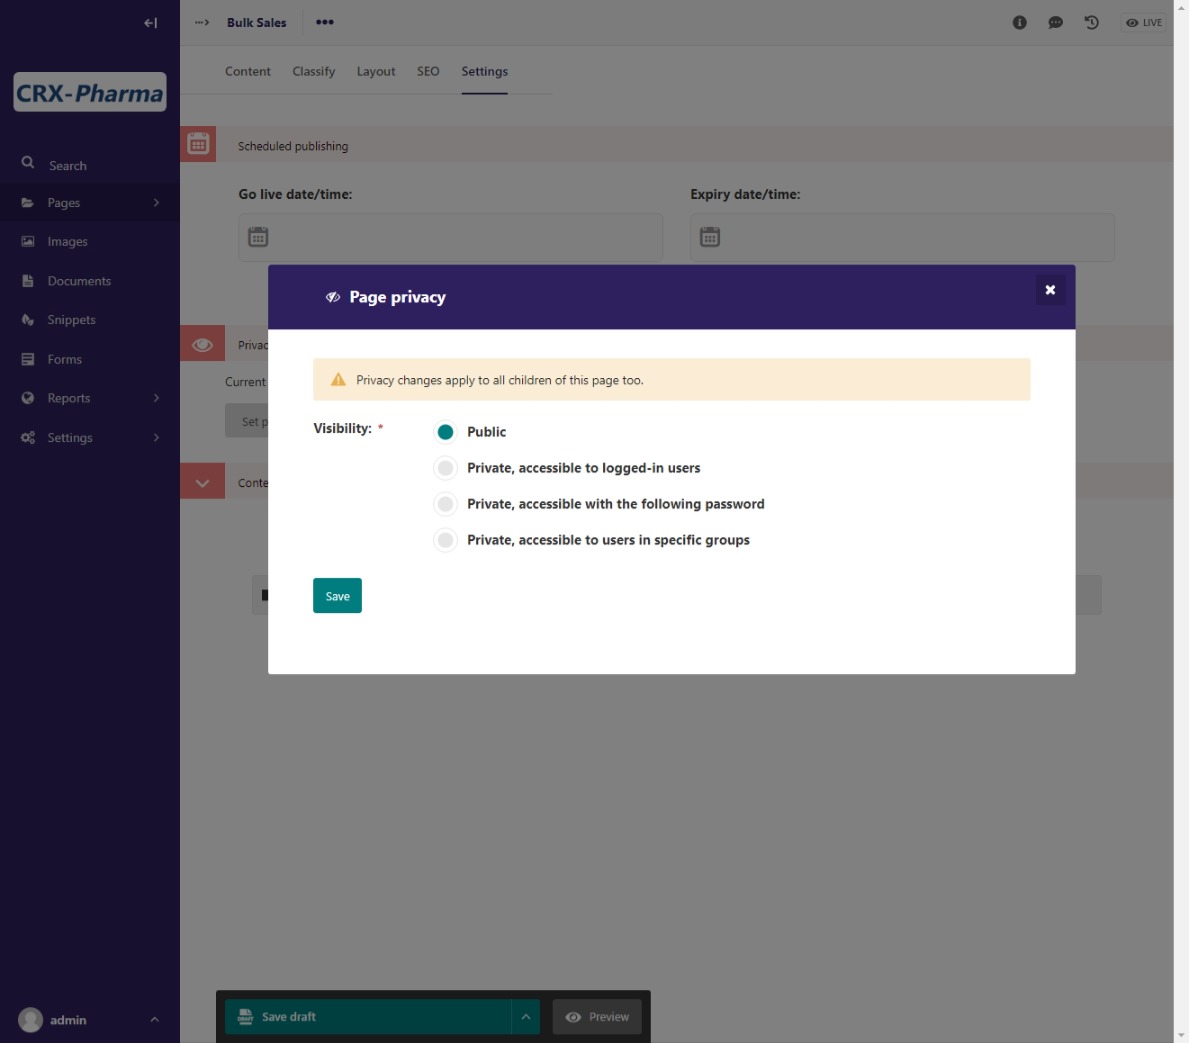
The Privacy options pop-up screen.
Note
Any privacy setting that you set on a parent or landing page is applied to all of the child or sub-pages as well.
Select the level of privacy that you want.
Private, accessible to logged-in users: Only available to those who are logged into the CMS
Private, accessible with the following password: Only available from the frontend with a password that you set
Private, accessible to users in specific groups: Only available to groups that you set in the CMS, like Moderators or Editors
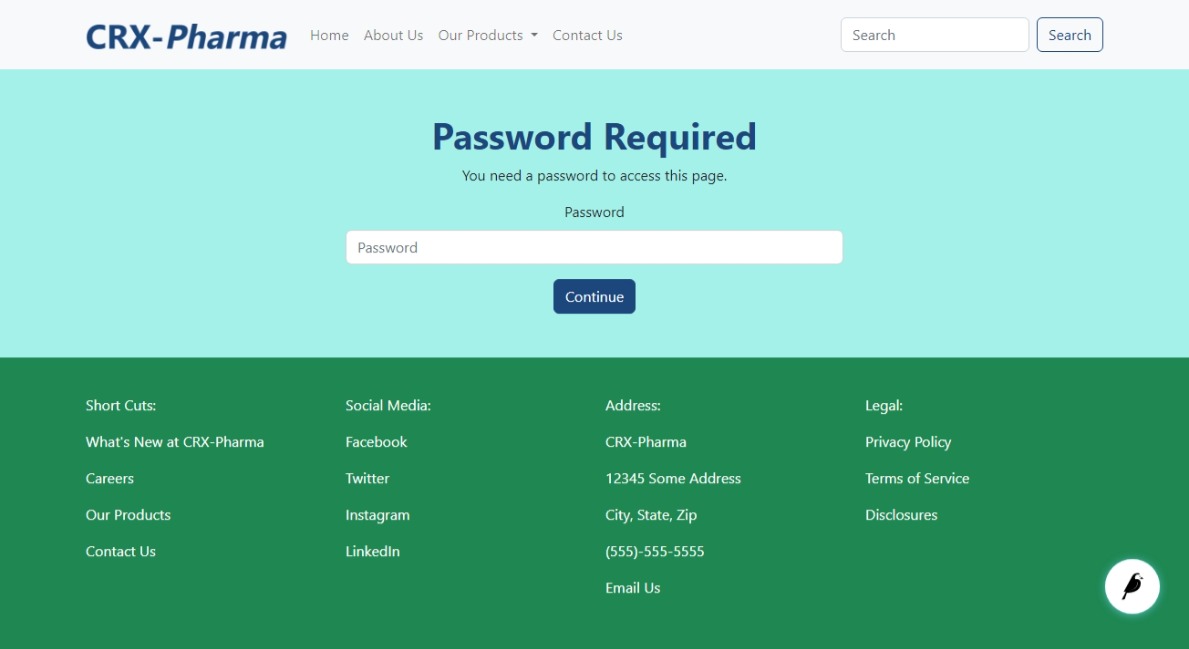
For a simple way to protect content on your site from unauthorized readers, select Private, accessible with the following password and choose a password. If the page doesn’t contain any sensitive information, the password doesn’t necessarily need to be super-complex. Our password Password-Protected page.
The Privacy options pop-up screen.
You can set up password-protected pages for sales presentations or to share private or specialized, but not sensitive, information.