Tutorial Part 4: Navbar & Footer
While CRX comes with a very rudimentary Navbar and Footer, the pro project template comes with a more realistic customizable Navbar and Footer in your local project. In this guide, we will look at how to customize the pro Navbar and Footer.
Add Content to the Footer
Now that we have our layout, let’s begin adding content! You see that there are several different choices for content available within the column block.
We will be using a text block in all 4 columns. In the first column’s text block:
Enter “Short Cuts:” and hit enter to make a new line (alternatively you can click the right angled arrow to get a new line.)
Click on the chain link symbol which should bring up this screen:
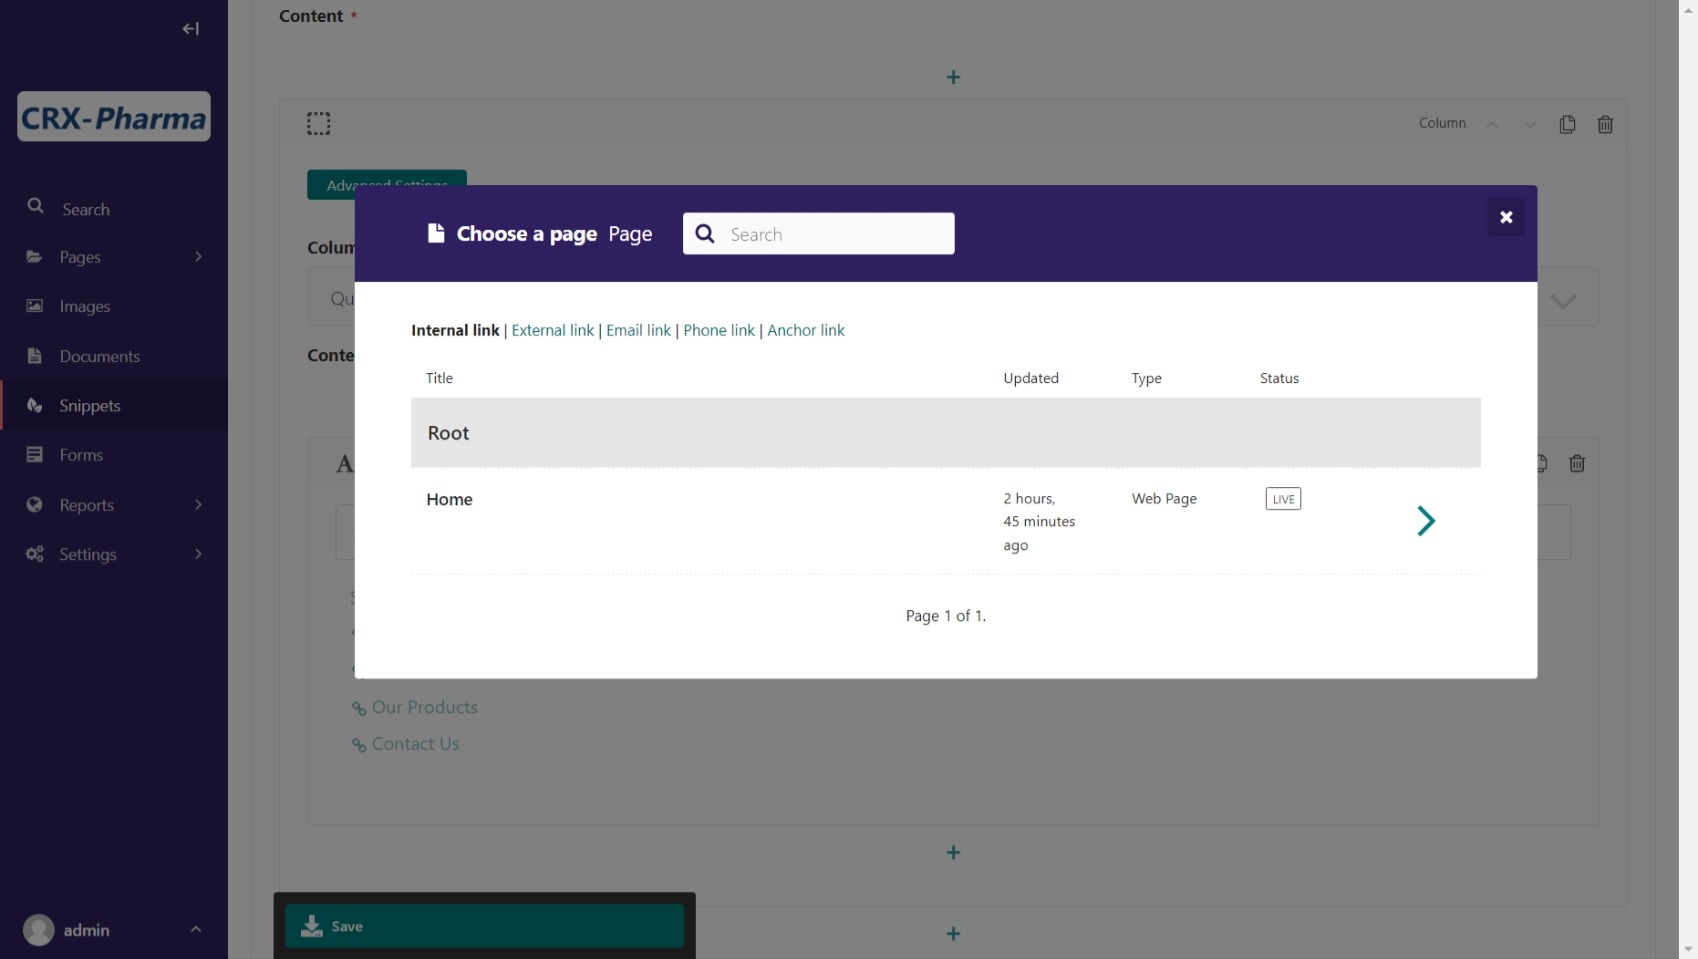
Link editing screen.
Choose “What’s New at CRX-Pharma” page
Do this a few more times choosing the “Careers”, “Our Products”, “Contact Us” pages.
For the second column’s text block:
Enter “Social Media:” and hit enter to make a new line.
Click on the chain link symbol which should bring up the link modal.
Click External Link
Enter “www.facebook.com” in the URL field.
Enter “Facebook” in the Link text field.
Click Insert link
Do this a few more times for other Social Media sites, such as twitter, linkedIn, and Instagram
For the third column’s text block:
Enter “Address:” and hit enter to make a new line.
Enter an address (format it to your liking)
Click on the chain link symbol which should bring up the link modal.
Click Phone Link
Enter a Phone number in the field and leave the other blank, click Insert link.
Click on the chain link symbol which should bring up the link modal.
Click Email Link
Enter an Email address in that field and “Email Us” in the Link text, click Insert link.
For the fourth column’s text block let’s add a document link.
Here’s a fake legal disclosure we can use: fake legal pdf.
Download that file. Remember it’s location on your computer. In the fourth column’s text editor:
Enter “Legal:” and hit enter to make a new line.
Choose document (next to the chain link)
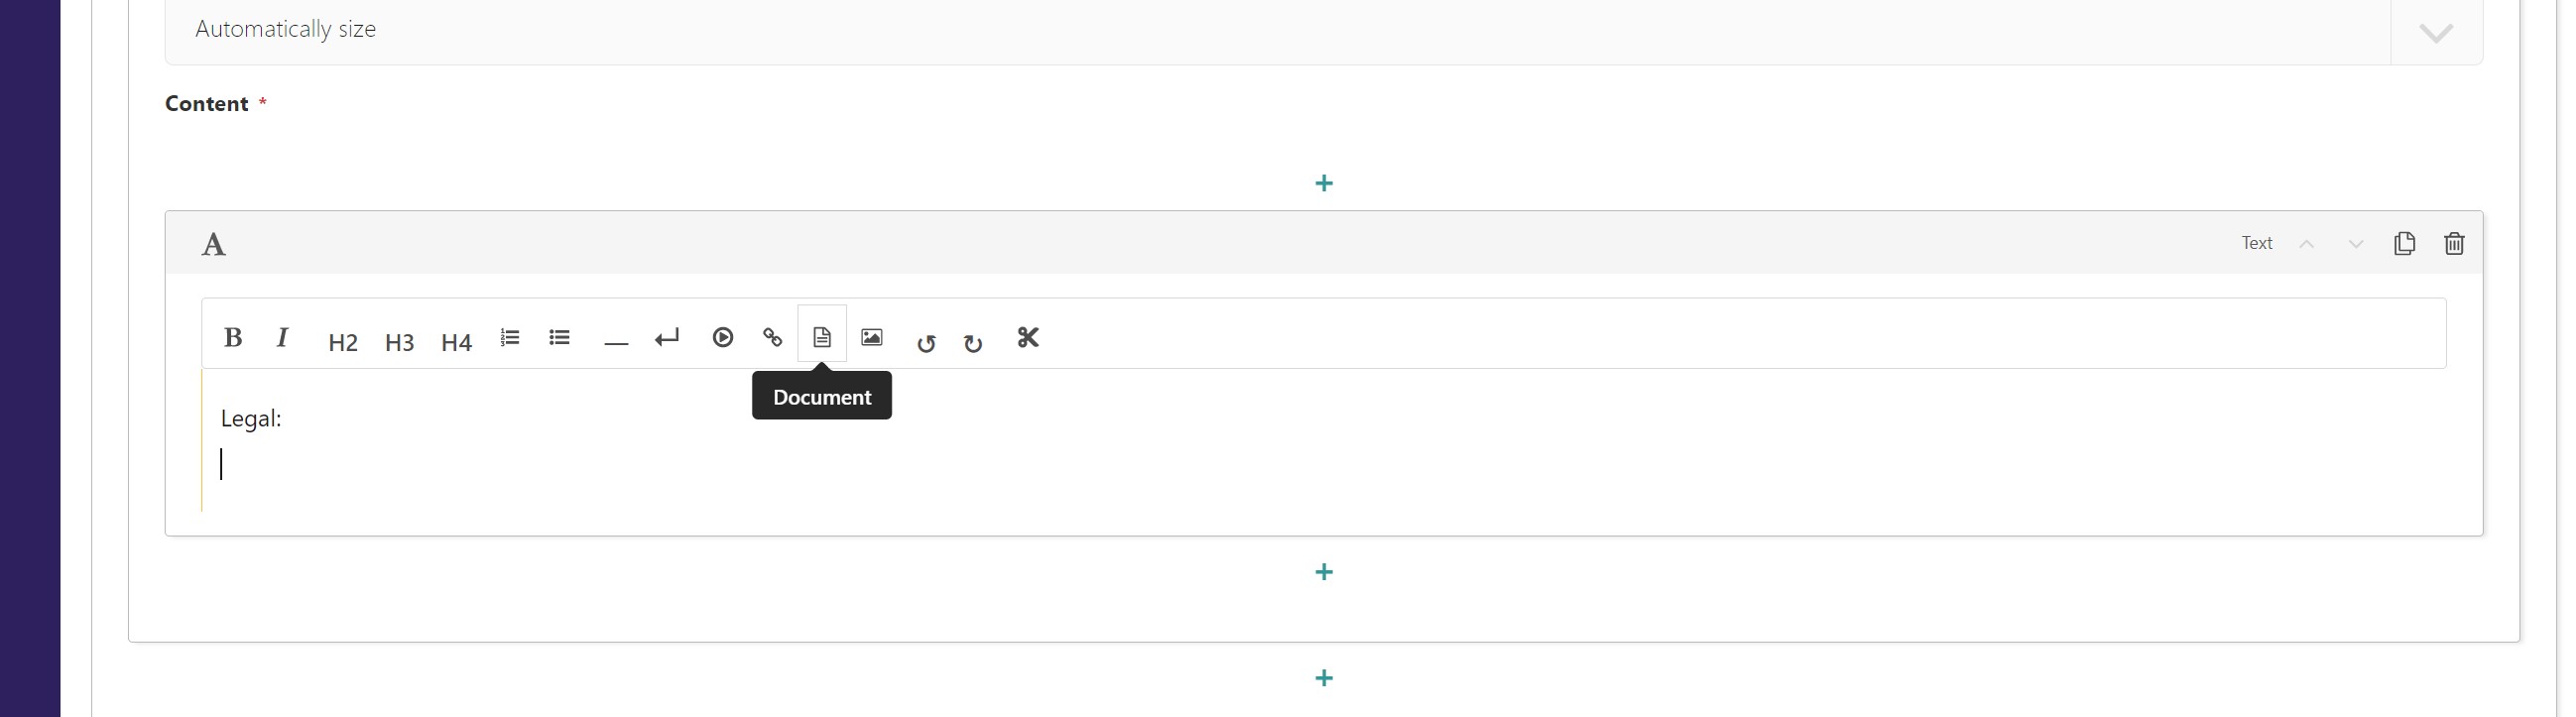
Text editor with document link highlighted
This opens the document management modal
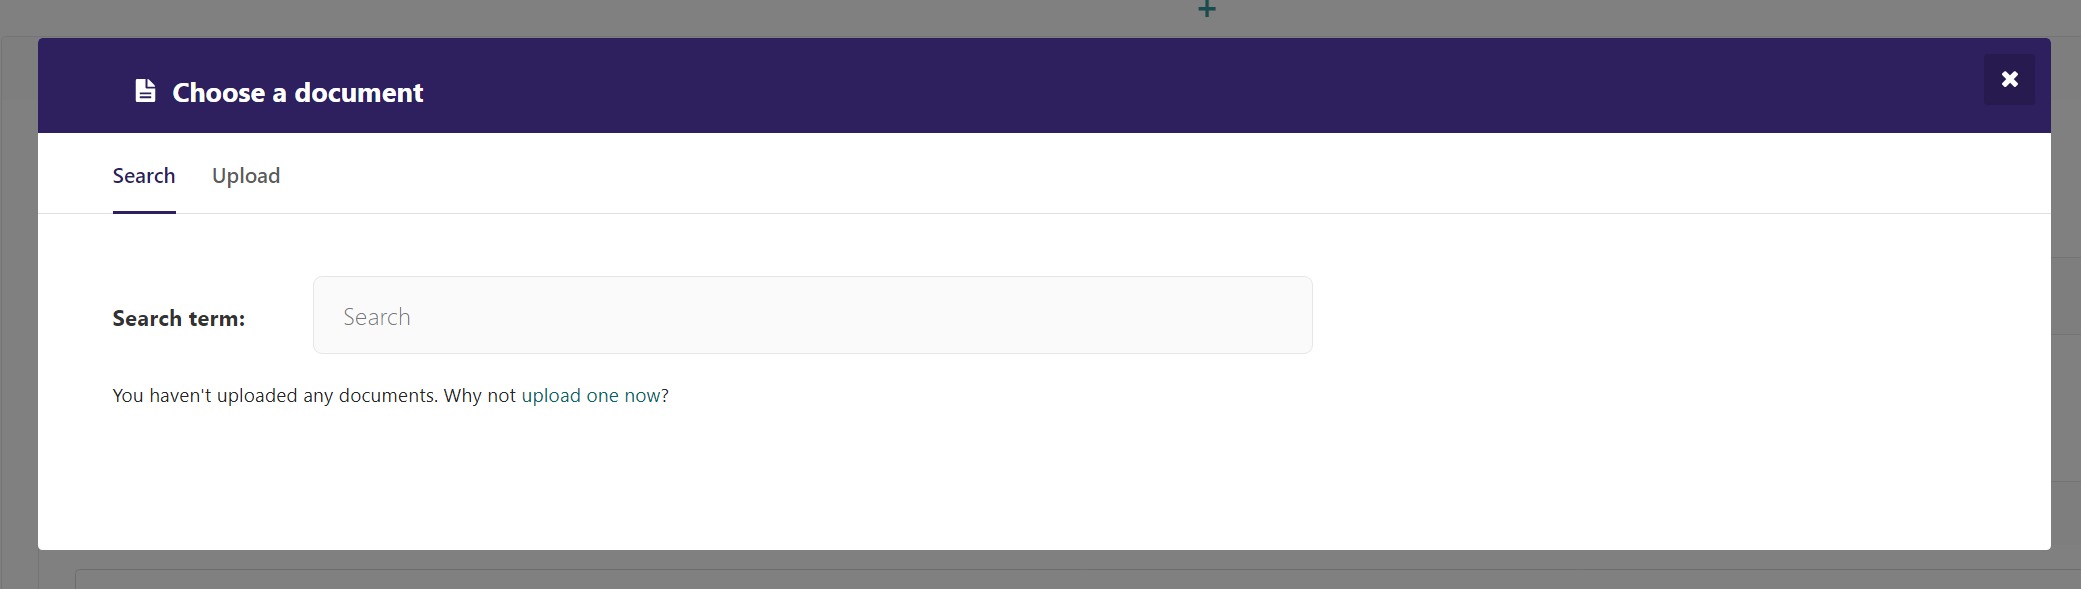
document management modal
Select the Upload Tab
Choose the file provided above.
Change the Title to “Privacy Policy”
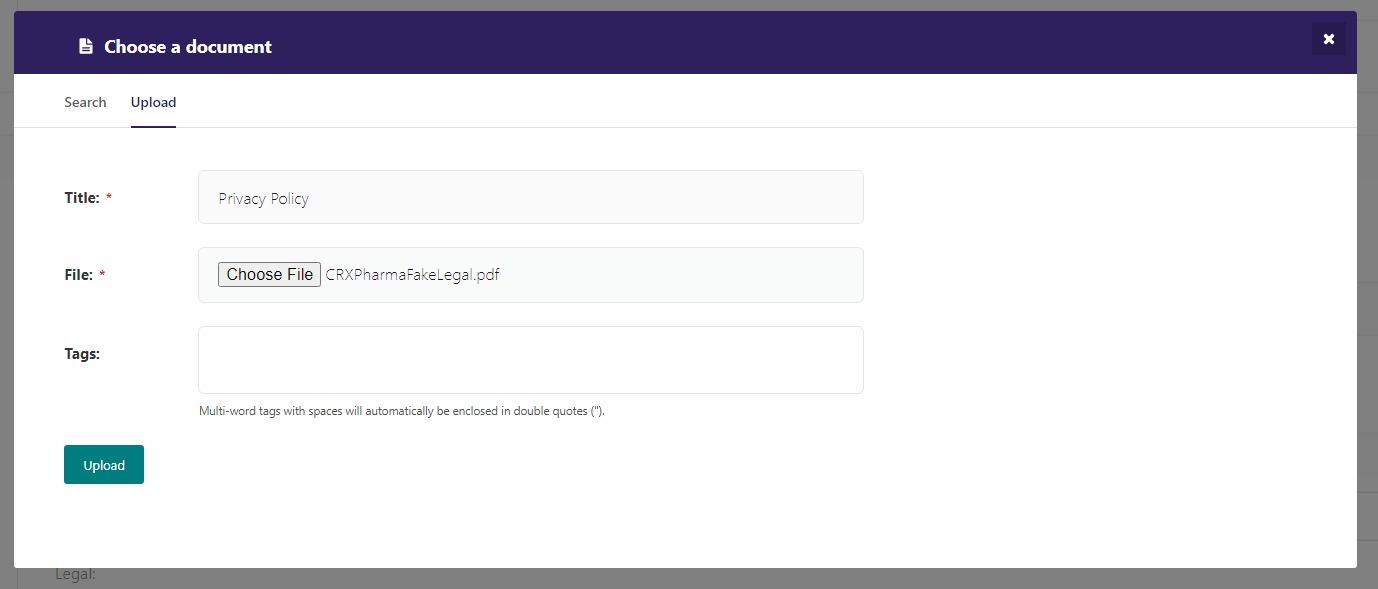
document management modal with document selected
Select Upload.
And now you see the document link in your text editor.
For the rest of the legal section, we are going use placeholder text (meaning no links). We put a line for Terms of Use, and Disclosures
Our Editing Page:
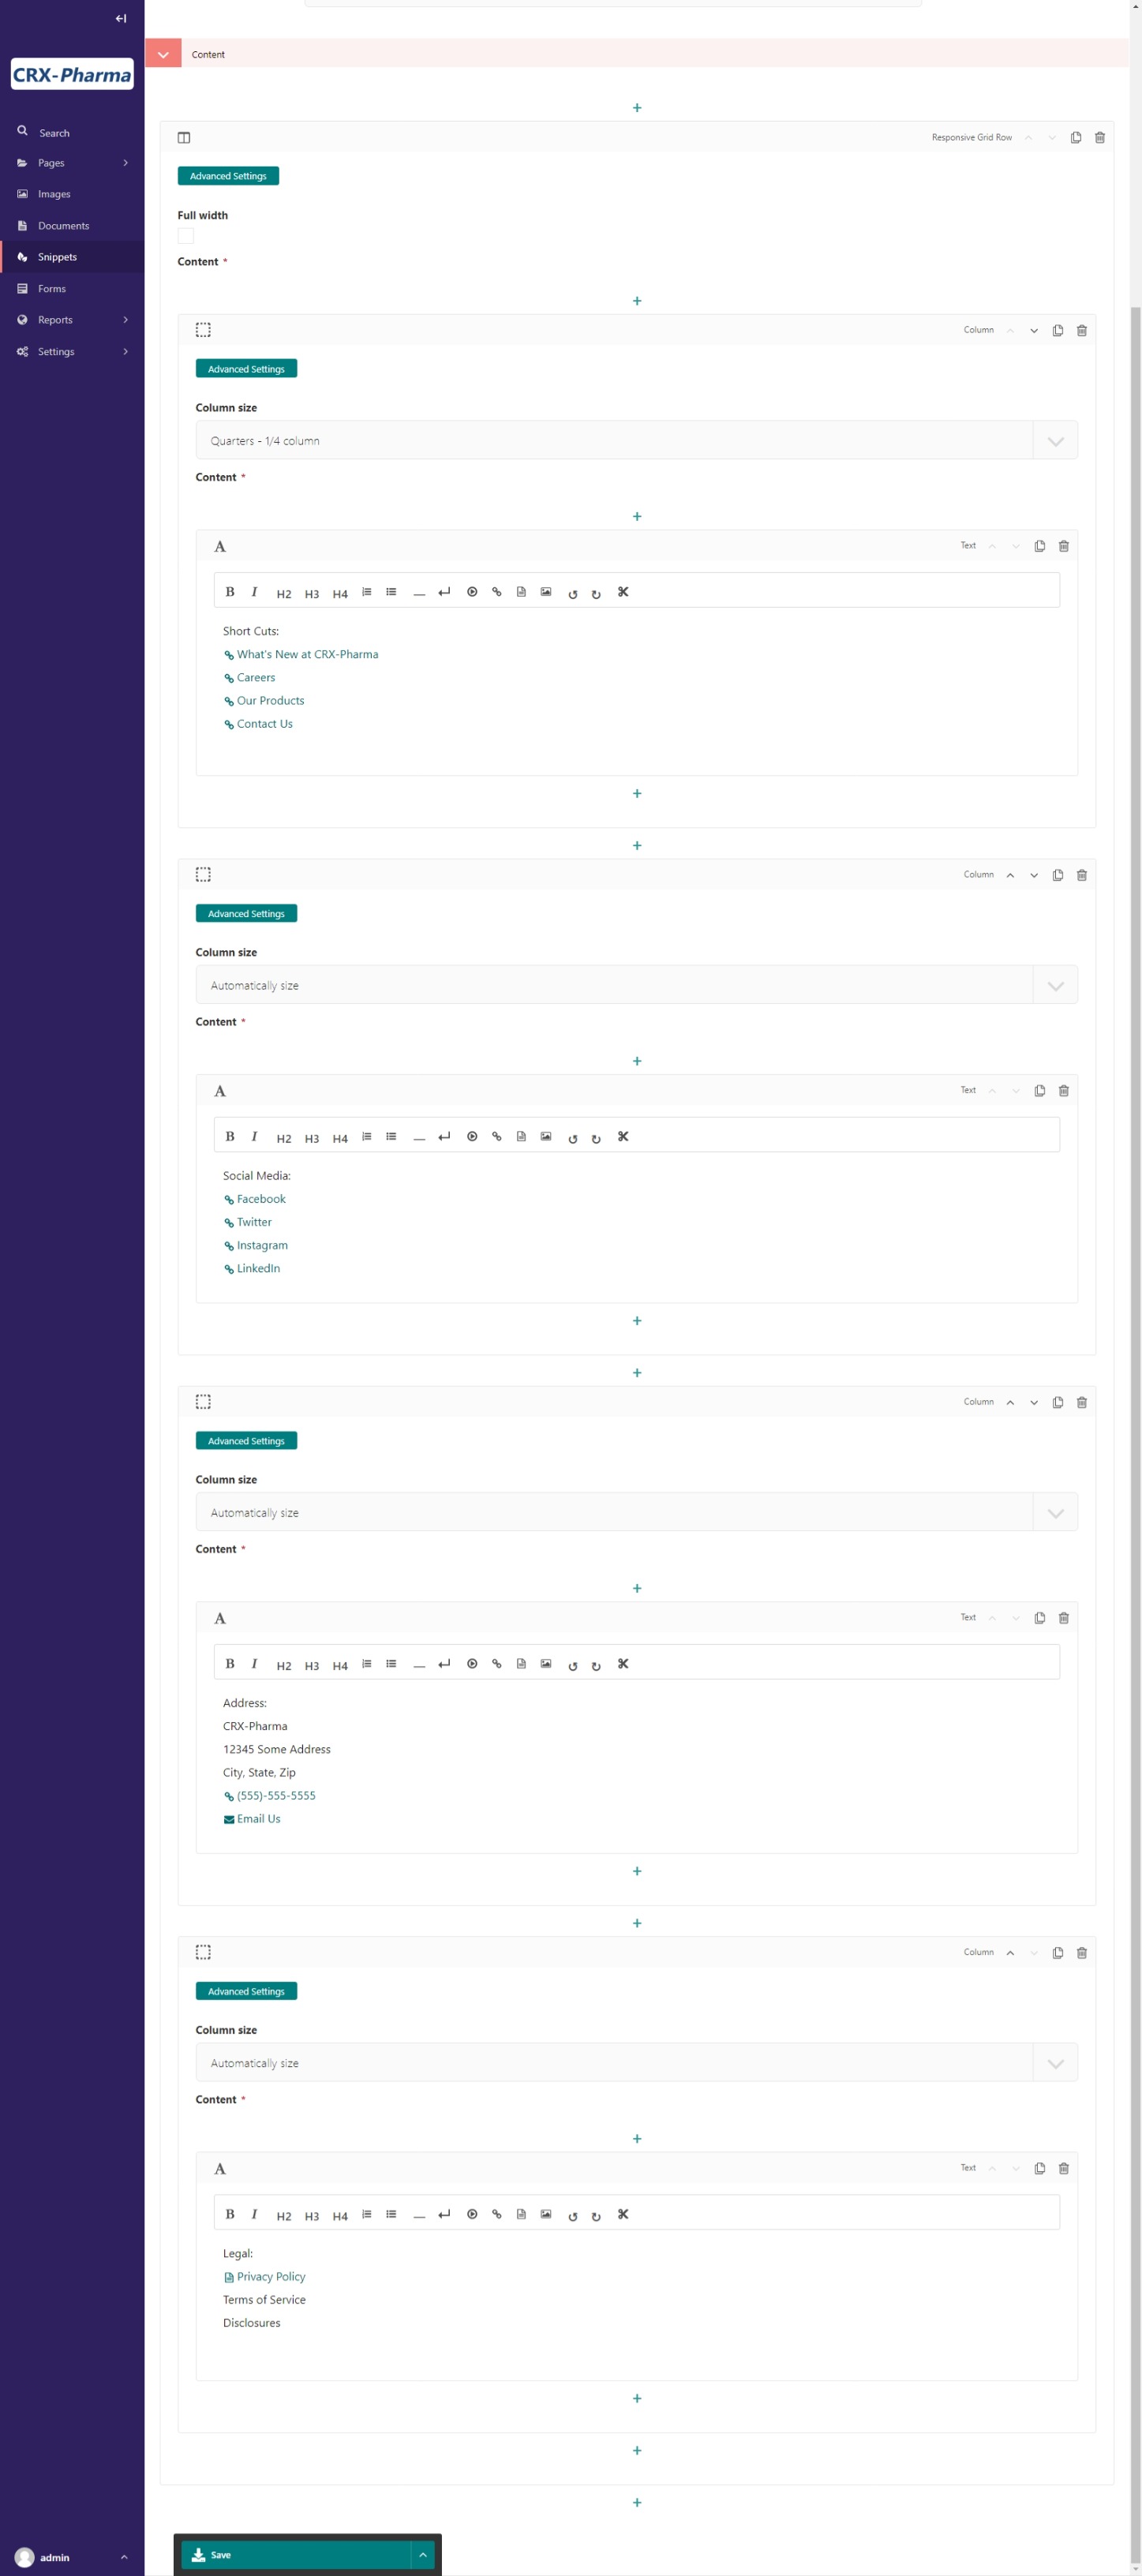
Footer Editing Page
Once you’re happy with your Footer, hit Save. Let’s see what it looks like!
Let’s change the Bootstrap default blue links by adding custom CSS to give it a nicer look.
In your file explorer go to mysite>website>static>website>src>custom.scss
Add the following code under // Add your custom styles here. (line 26) :
.secondary-links {
 a {
    color: $white;
    text-decoration: none;
 }

 a:hover {
    color: $dark;
  }
}
Our custom.scss now looks like this:
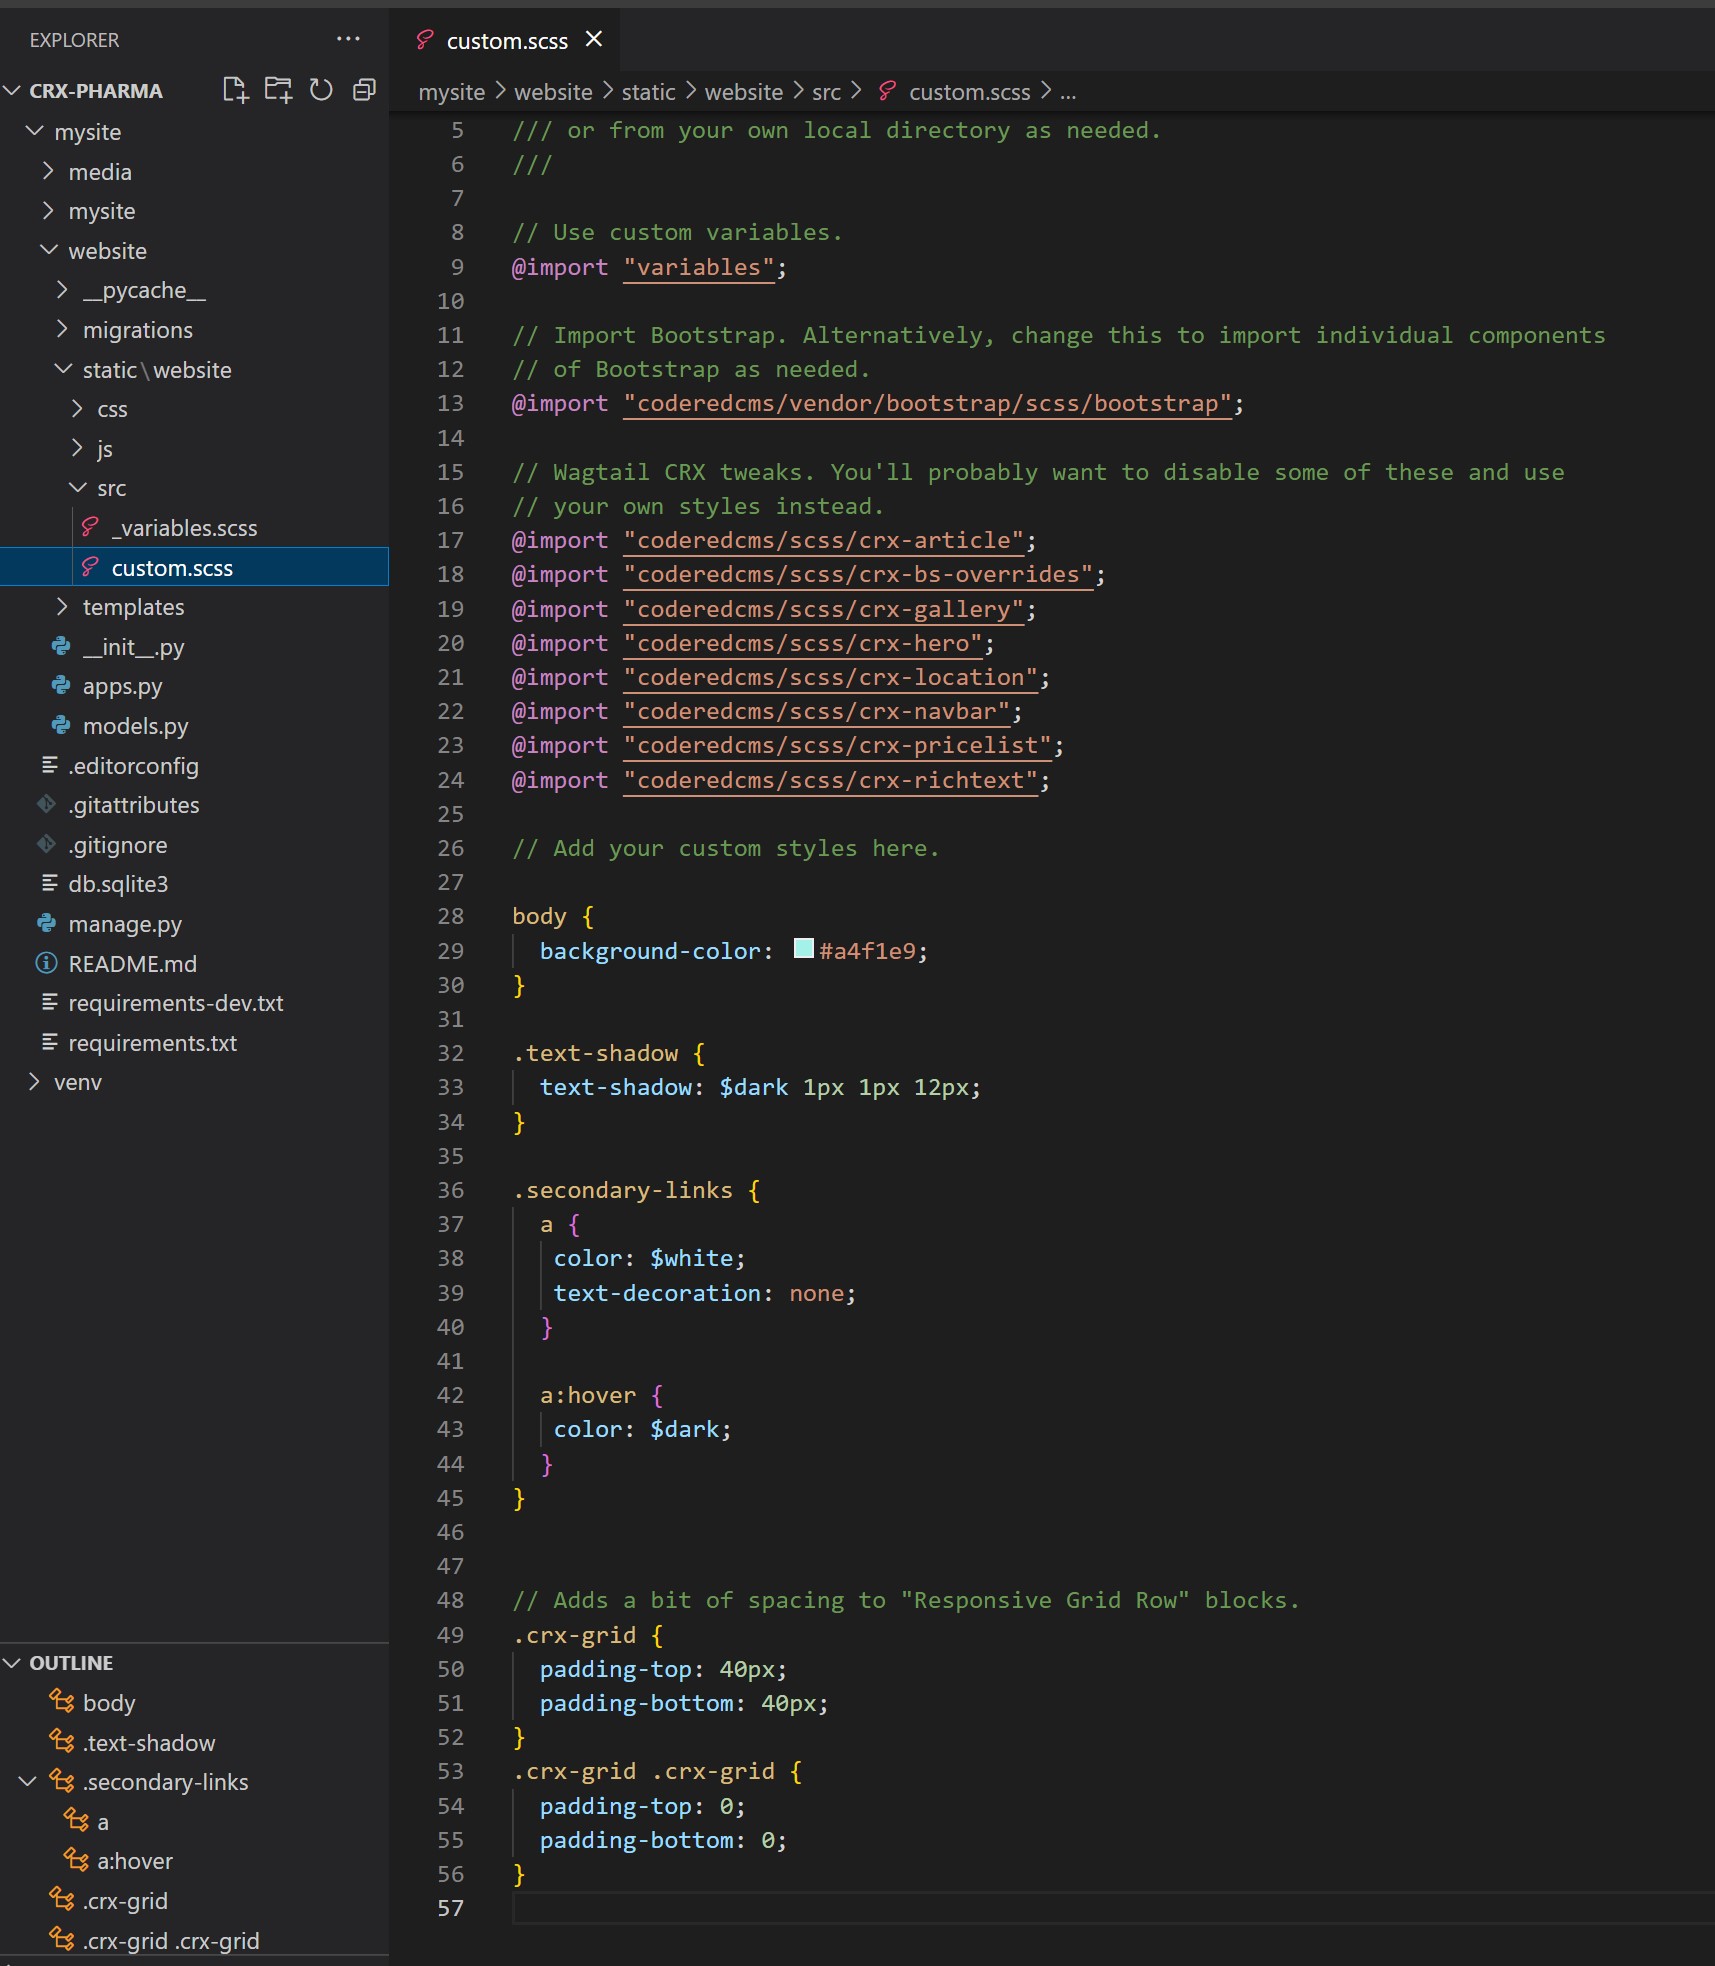
custom.scss file with secondary link class added
Remember to compile your sass:
Stop your server with ctrl + c.
Run:
$ python manage.py sass website/static/website/src/custom.scss website/static/website/css/custom.css
Restart server with python manage.py runserver
Go to back to Snippets > Footers
Edit “Main Footer”
Add “secondary-links” the new css class along side “bg-secondary text-white” in the Custom CSS Class field.
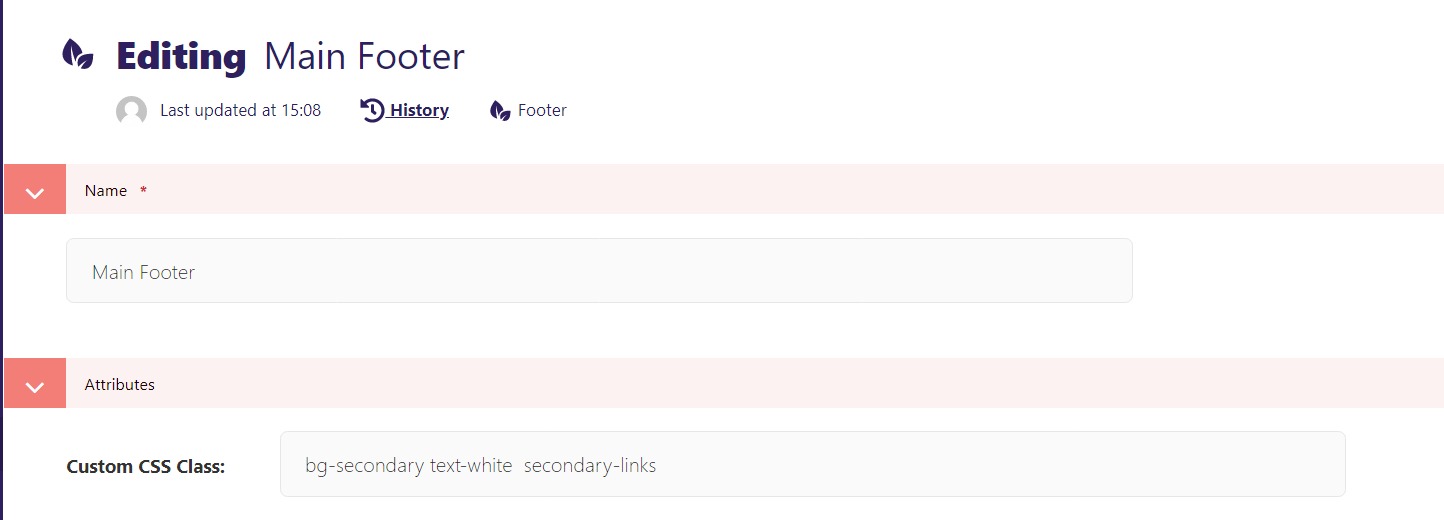
secondary-link class added to Custom CSS Class field
Save
Navigate to the Home page at http://localhost:8000/
Be sure to hard refresh and load the current CSS stylesheet.
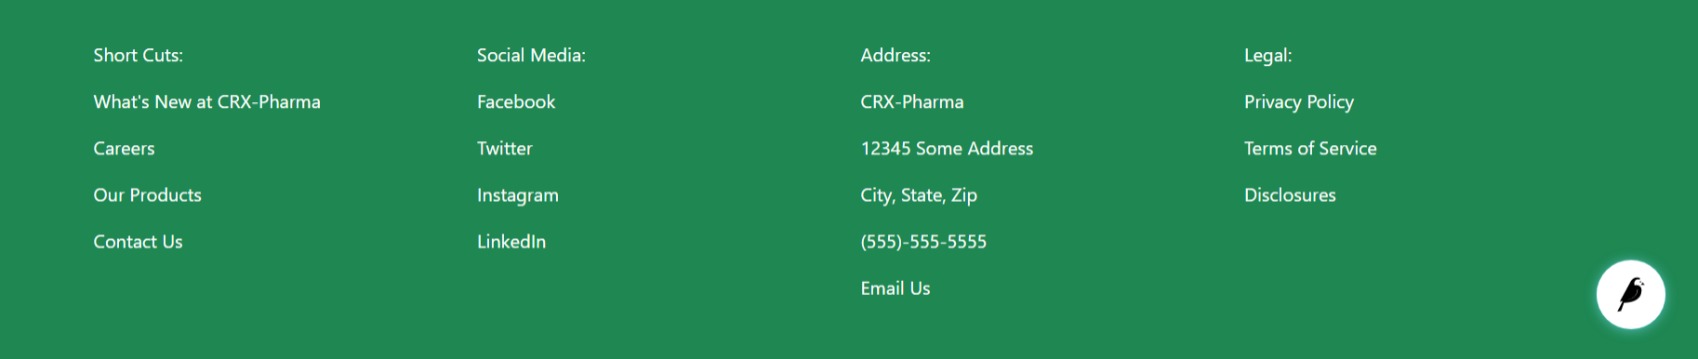
footer with new class secondary-link class
Take a moment to hover over the link text and see it changes color. Now the homepage is starting to feel like a professional site.
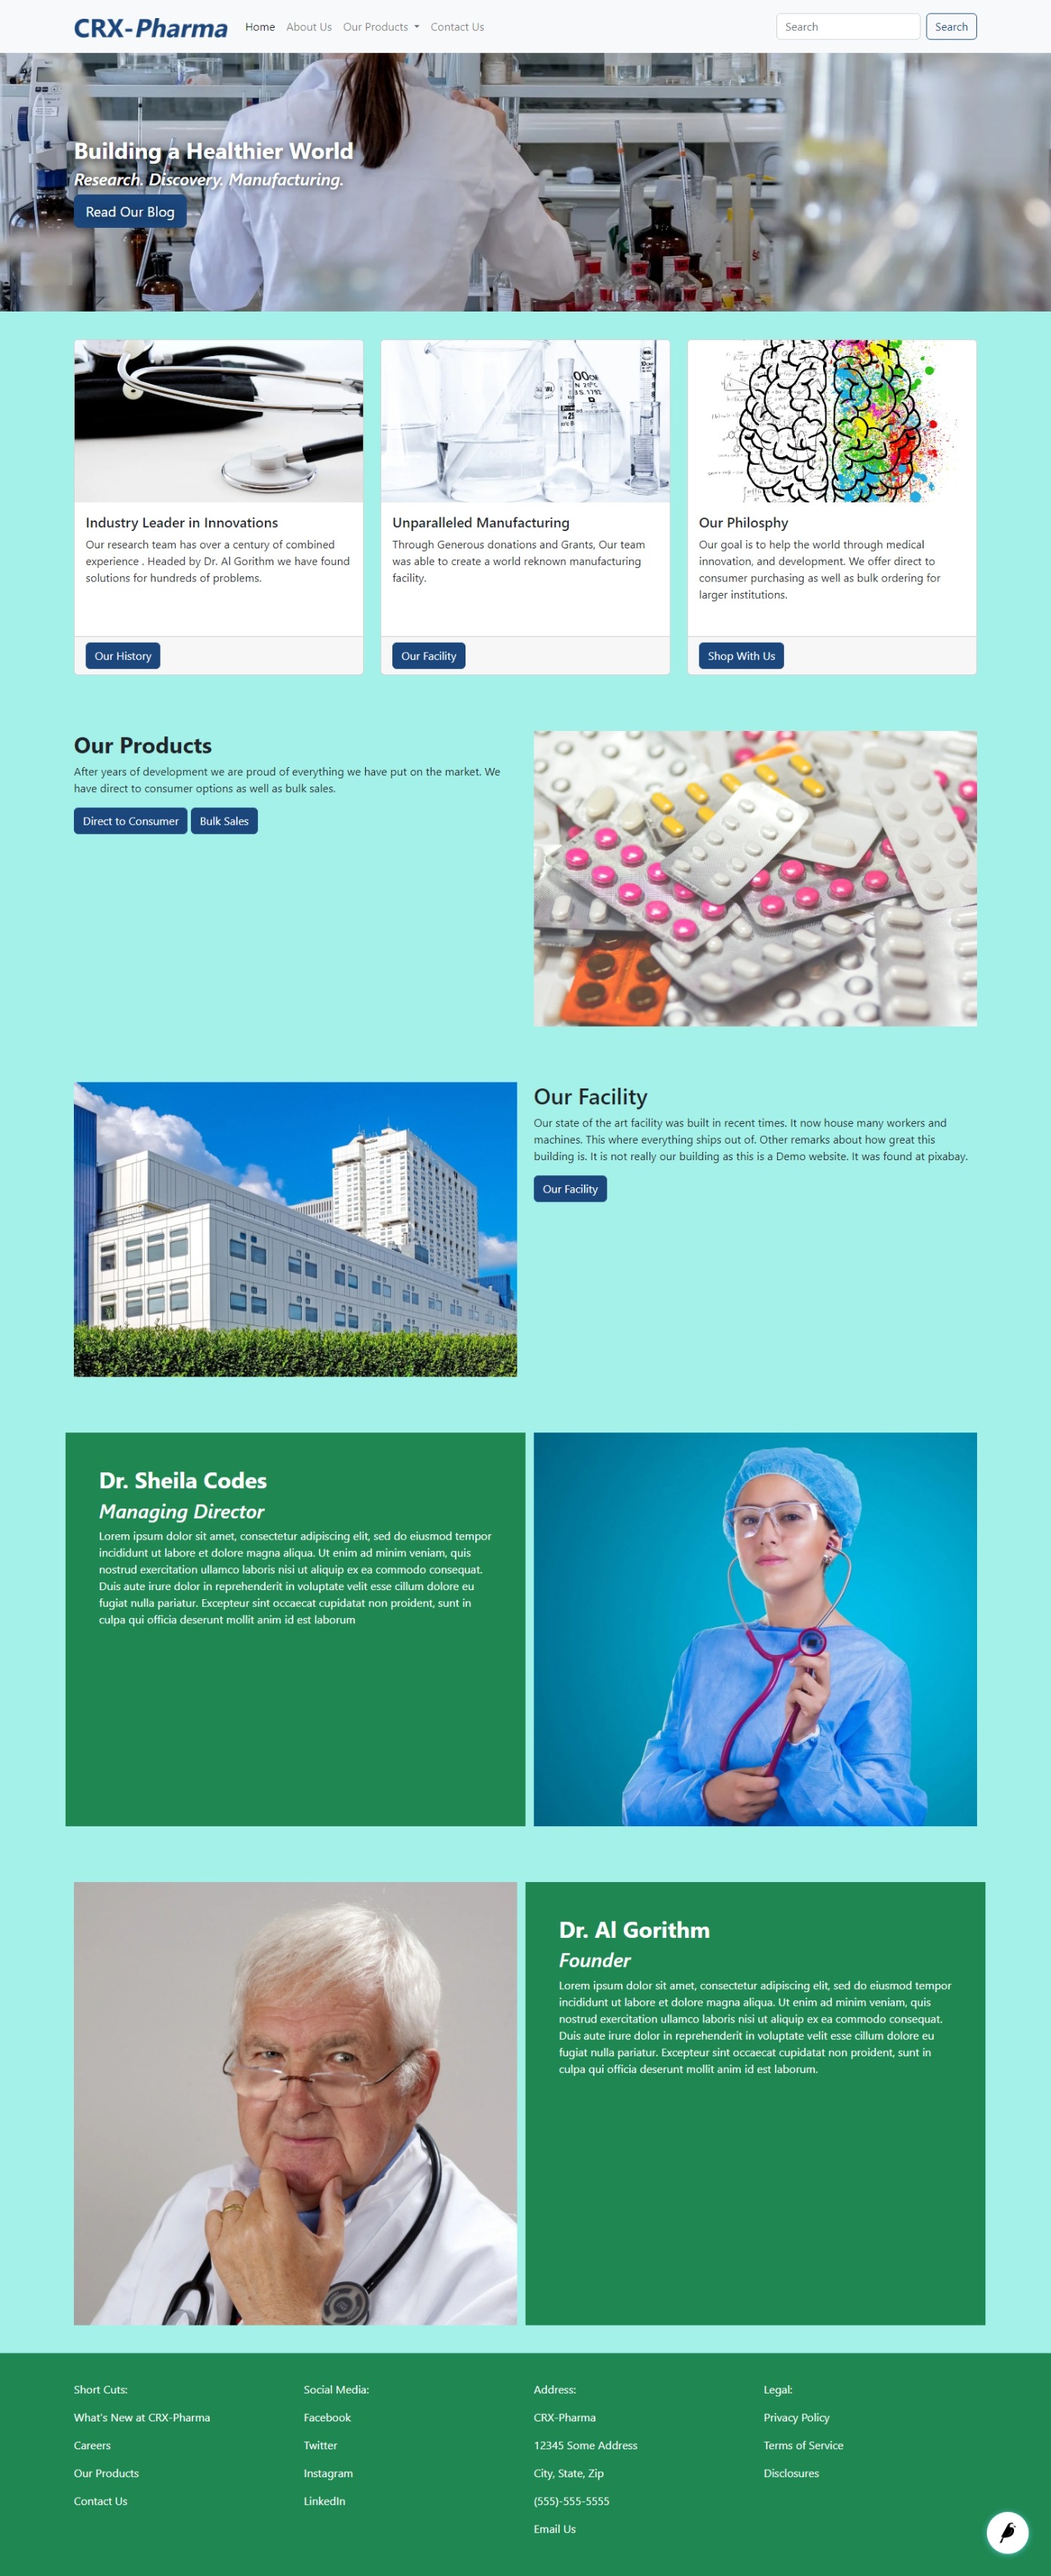
The homepage with navbar and footer
Now let’s look at building a blog landing page and blog pages.