Tutorial Part 5: Creating a Blog
We want to add a blog to our site, so let’s look at Article Pages.
Adding articles to the site
Article pages are child pages (also known as sub-pages) of an Article Landing Page. This is important because sub-pages can be accessed by the parent page. Let’s look at this in action.
Note
We are going to use the “What’s Happening at CRX-Pharma” page created in part 02 for our blog. Blogs are Article Landing Pages in Wagtail-CRX and are used interchangeably in this tutorial.
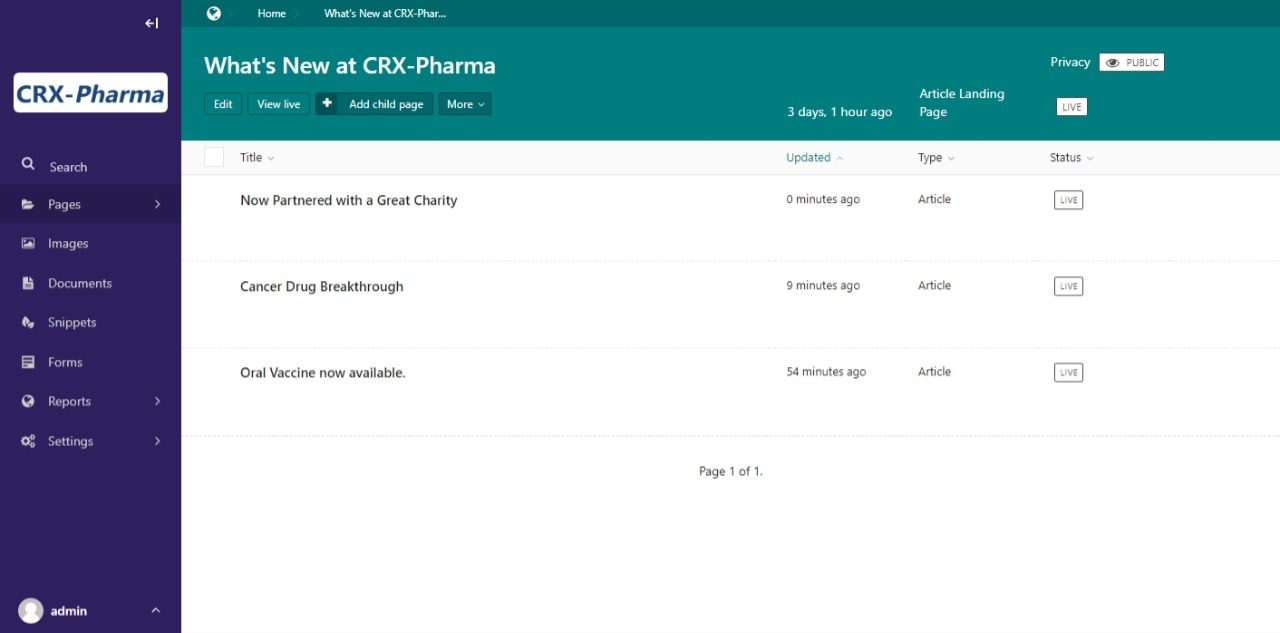
Go to Pages > Home in wagtail admin. This screen will allow you to create child pages as seen in part 02 of the tutorial. Ours looks like this:
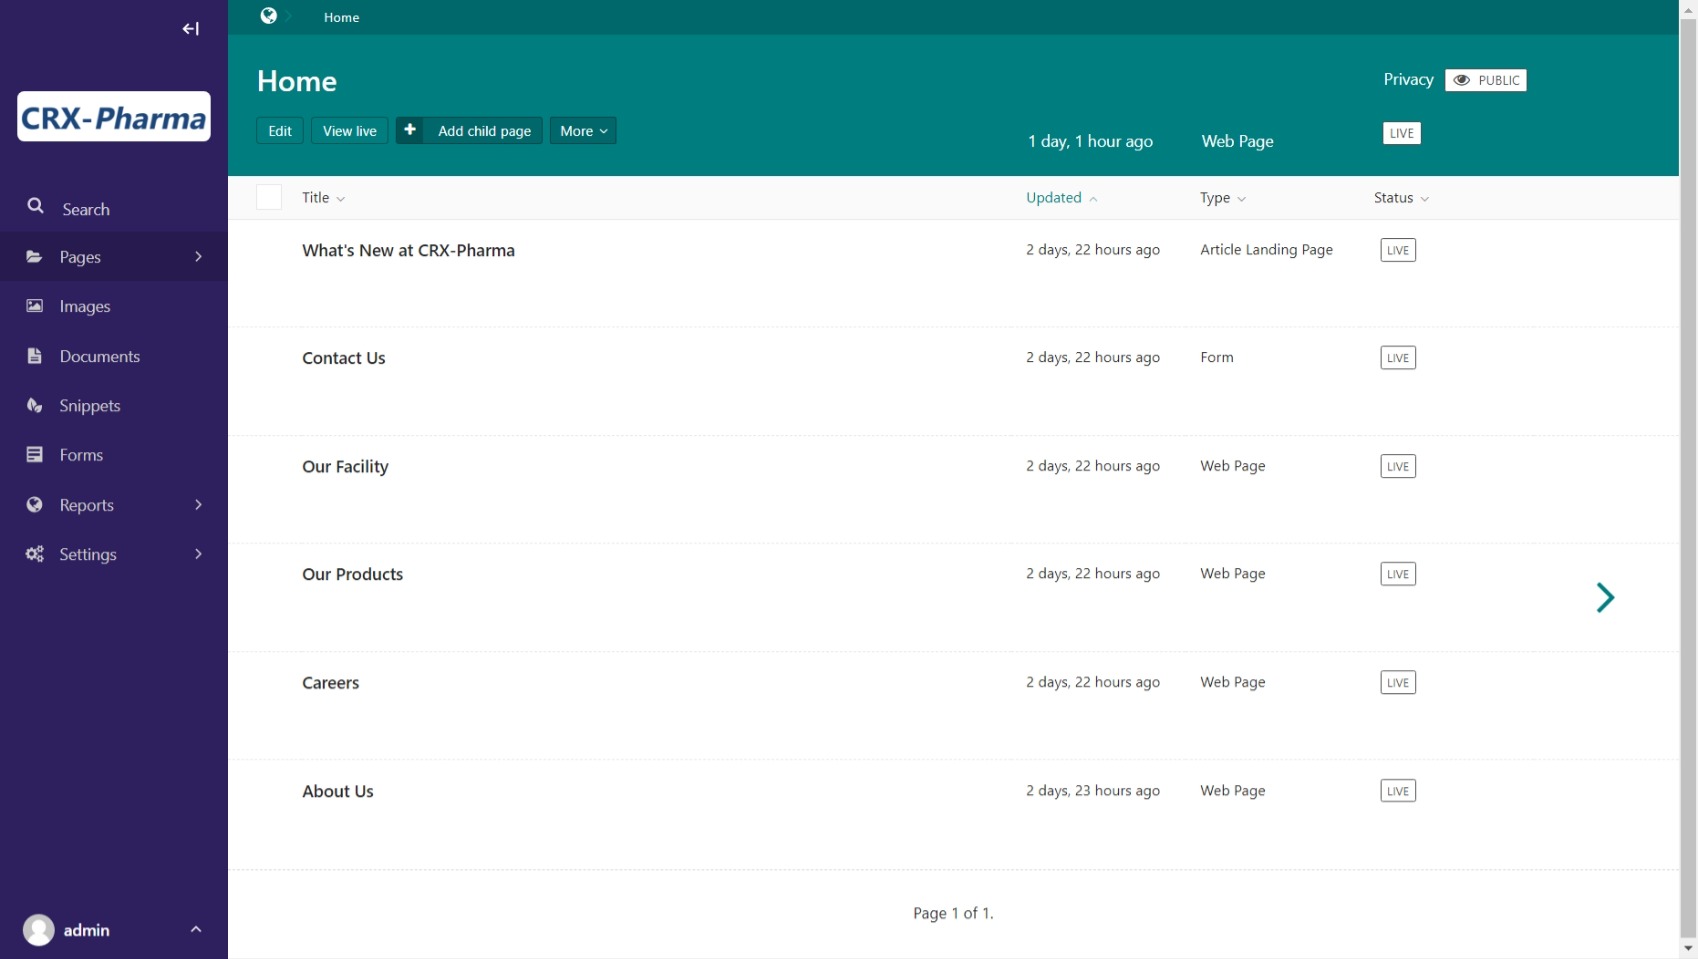
The admin screen for adding pages under the Home page sorted by last updated. Your’s may look different depending on what you updated last.
You should see the Article Landing with titled “What’s New at CRX-Pharma”. Hover over it to reveal more options. These options include: Edit, View Live, Add child page, and More. If you click on More you’ll see a drop down menu with Move, Copy, Delete, Unpublish, and History.
Move allows you to change where that page is in site’s tree structure.
Copy will make a copy of the page.
Delete removes the page from the project.
Unpublish will keep the page but it will no longer be accessible live.
History allows you to see changes made to the page.
For now, We want to add a few posts, so select Add Child Page. This will take you to the Article page type for editing! Seen here:
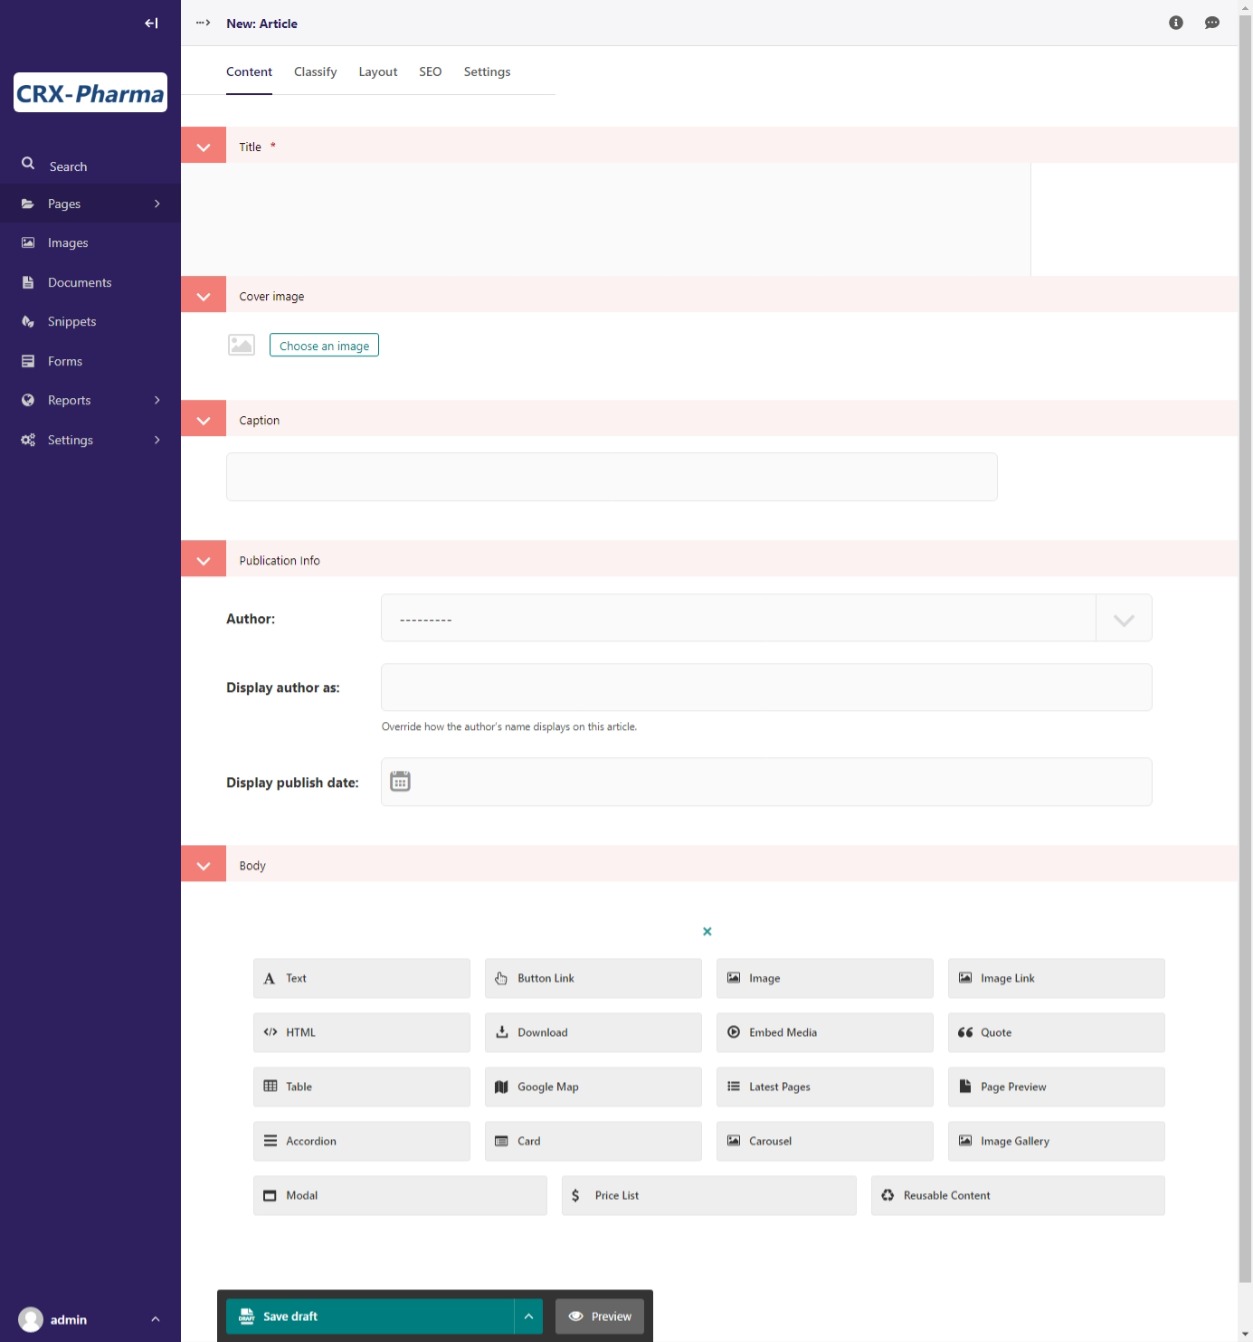
The edit screen for an article page.
The anatomy of an Article Page
The Article Page has several built-in fields to make it easy to publish an article, or blog as in our case. We will want to fill in the following:
Title - Title of the article or blog
Cover Image - Not required but can add interest to your page
Caption - The sub-title for the article or blog
Publication Info - Here we add the author, the display name for the author if different, and the Publication date
Body - Content for our article or blog
Let’s write a short blog about a fictitious vaccine that CRX-Pharma created. We added this as our cover image , then filled out the the rest of the fields for our page.
What our editor looks like:
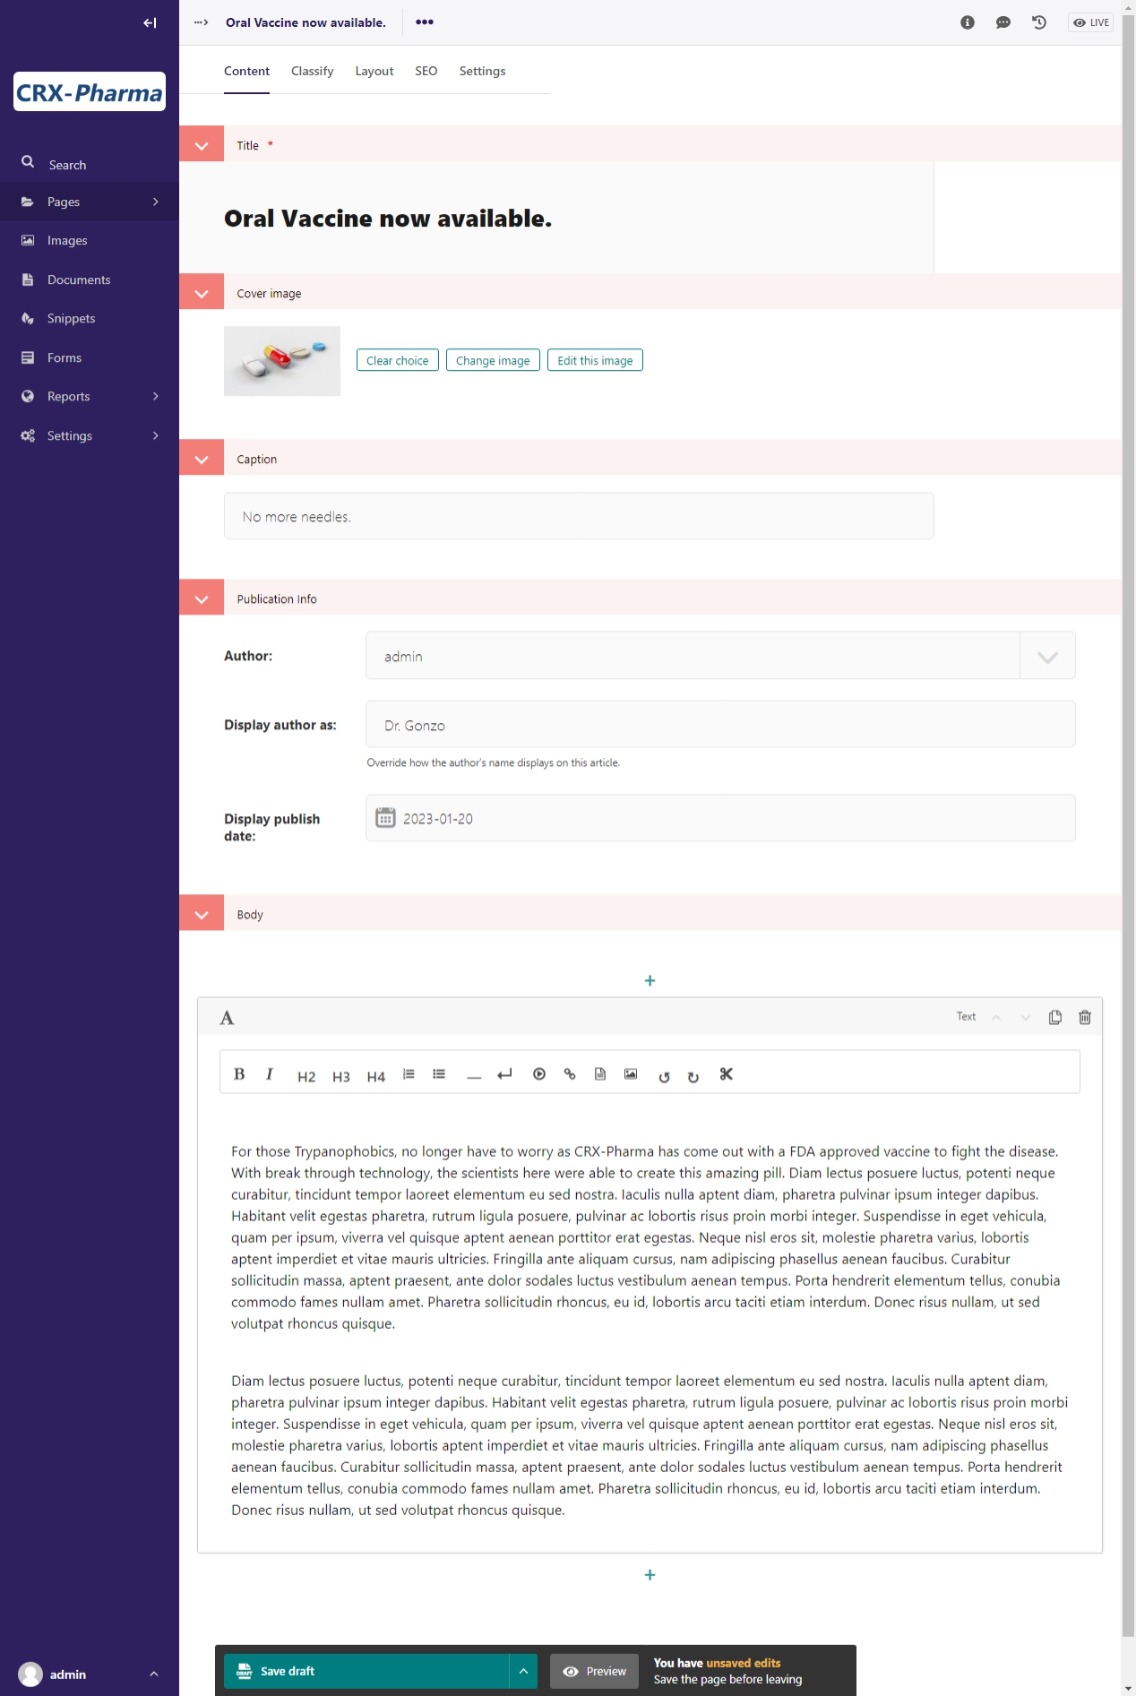
The edit screen for our first blog post.
Now publish it and see what it looks like!
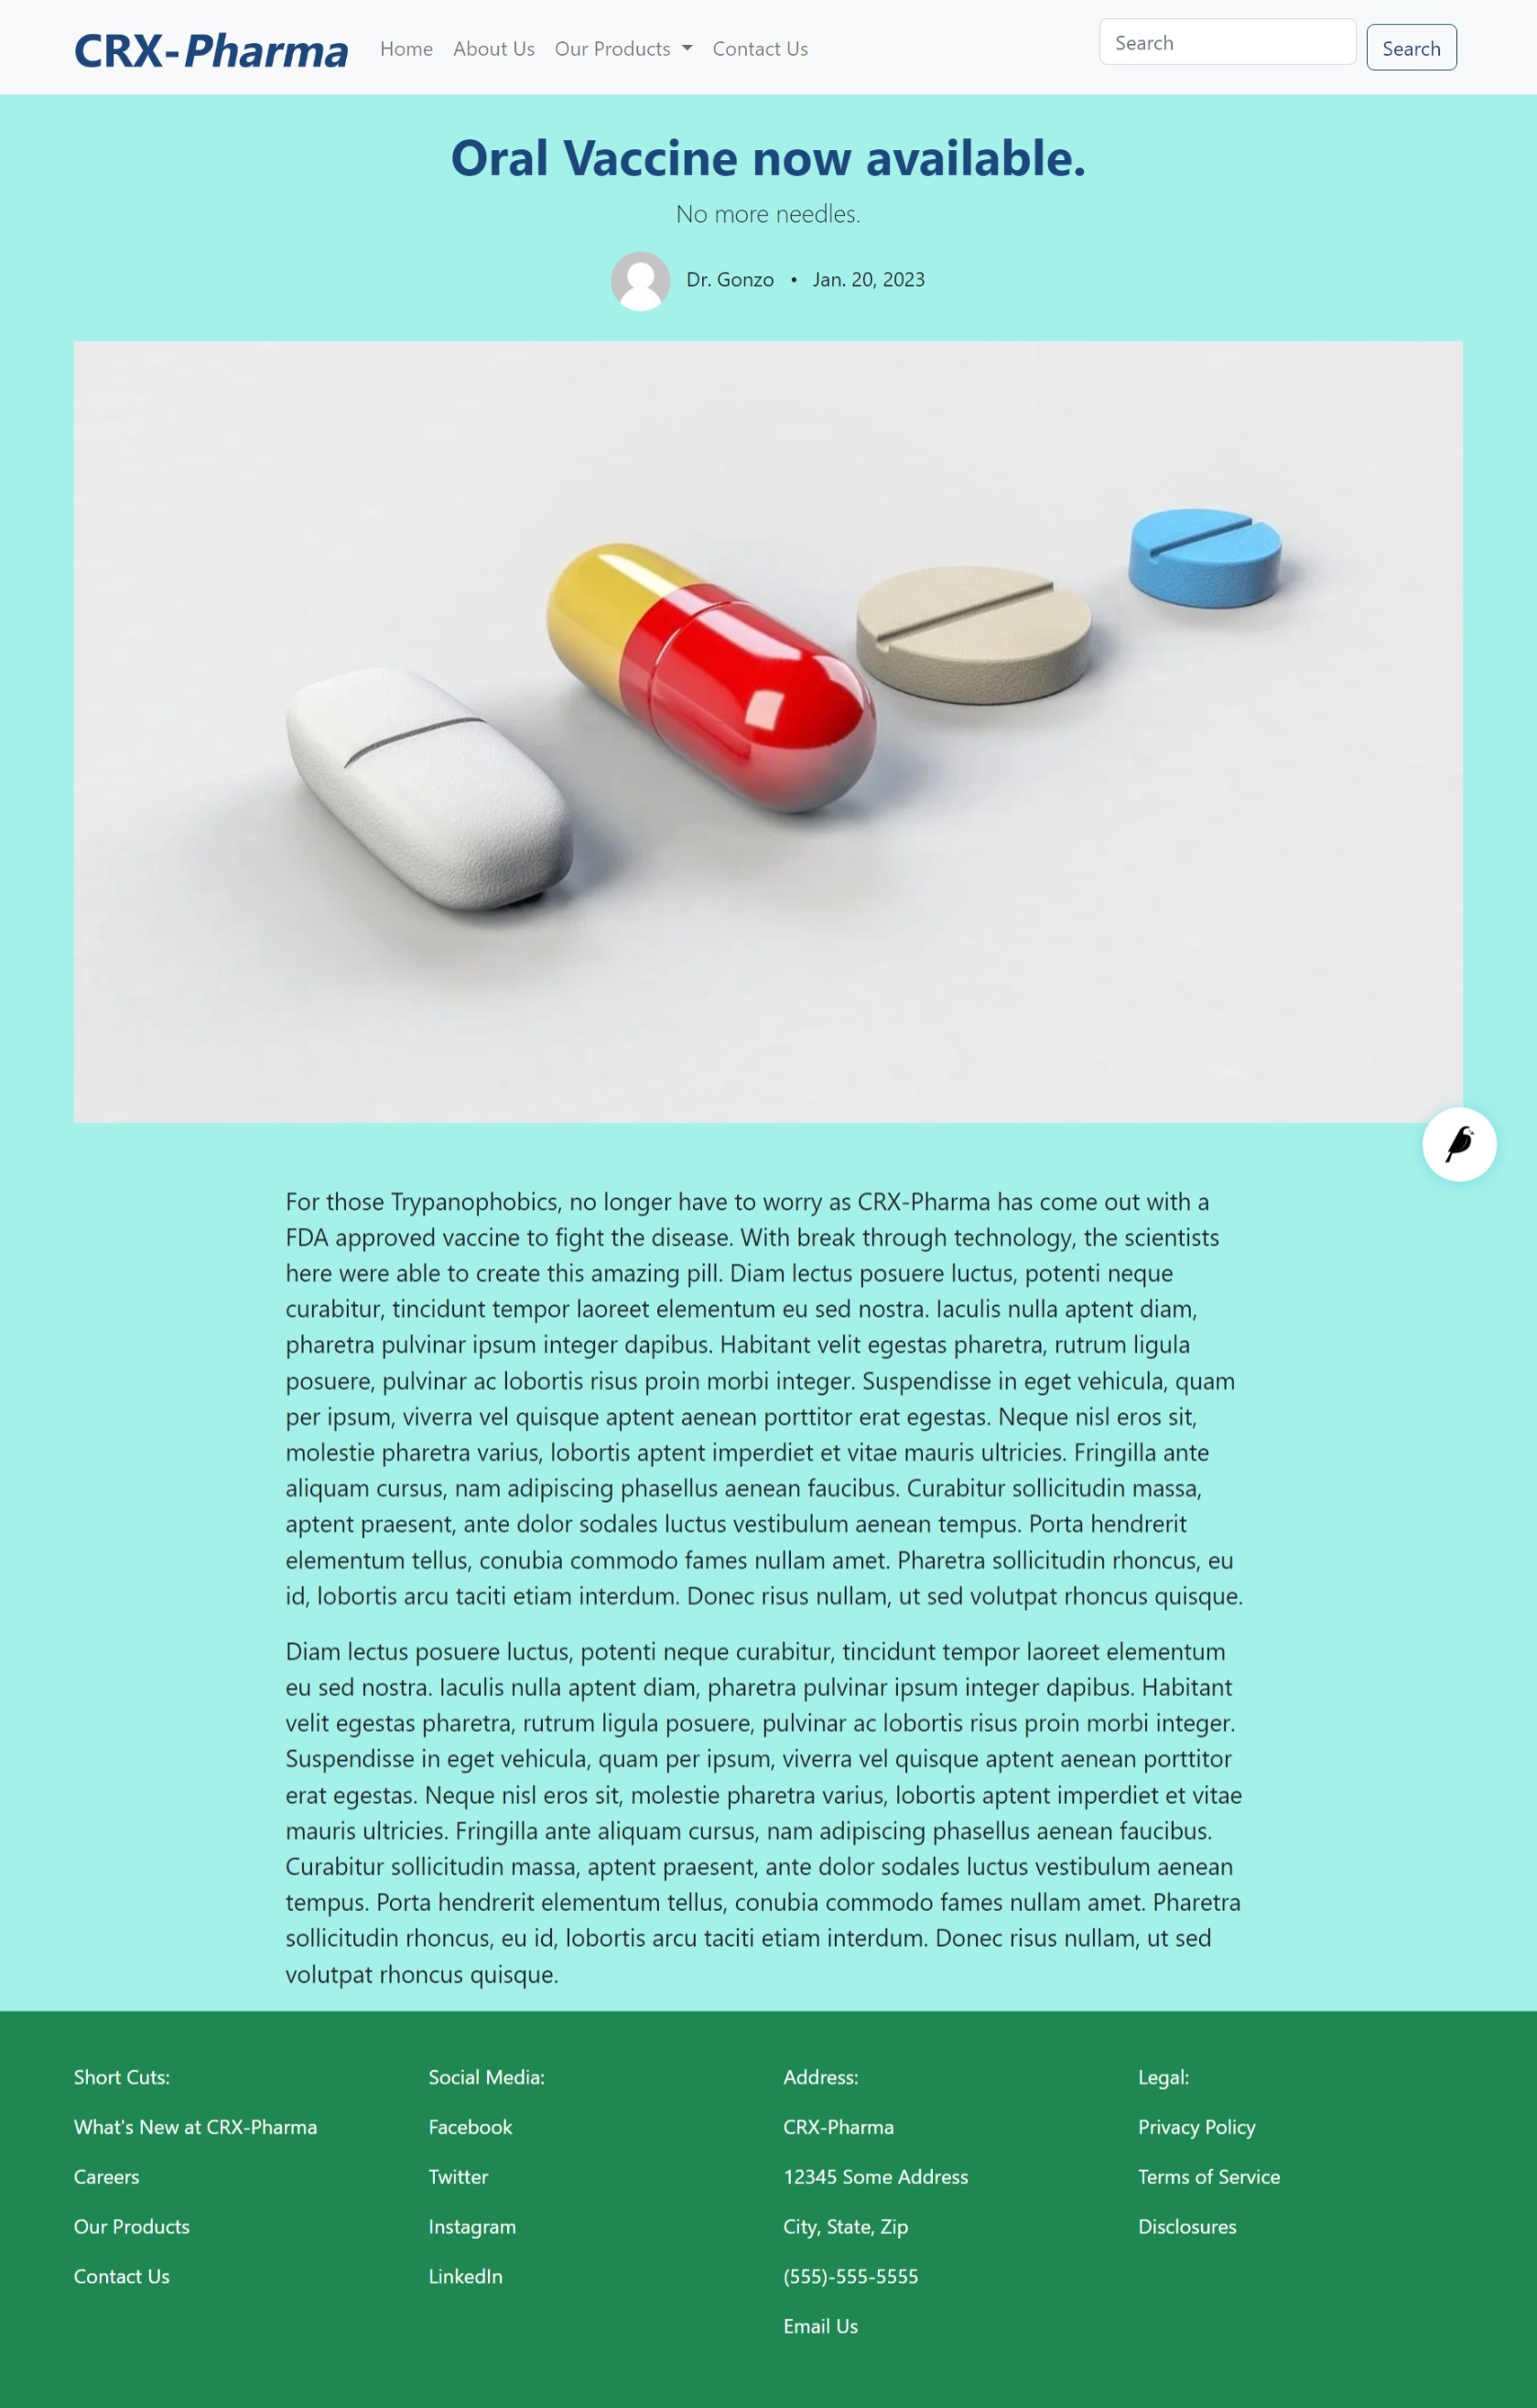
Our first published blog post.
Add a few more blog posts to get some practice, then we will return to our Blog landing page.
The admin view to edit our blog posts and our Blog landing page.
Completing our Blog landing page
On the admin page, we can select to edit the main Blog page. Click the Edit button that is under the “What’ New at CRX-Pharma”. Alternatively, you can find the Blog page in the Home page admin view or by clicking on Pages.
Just like on the other pages, we can add a cover image and build the layout. Let’s do that! We will use Responsive Grid Row and just one full-width column for an introduction. Then we will show you the different ways to display your sub-pages on the landing page.
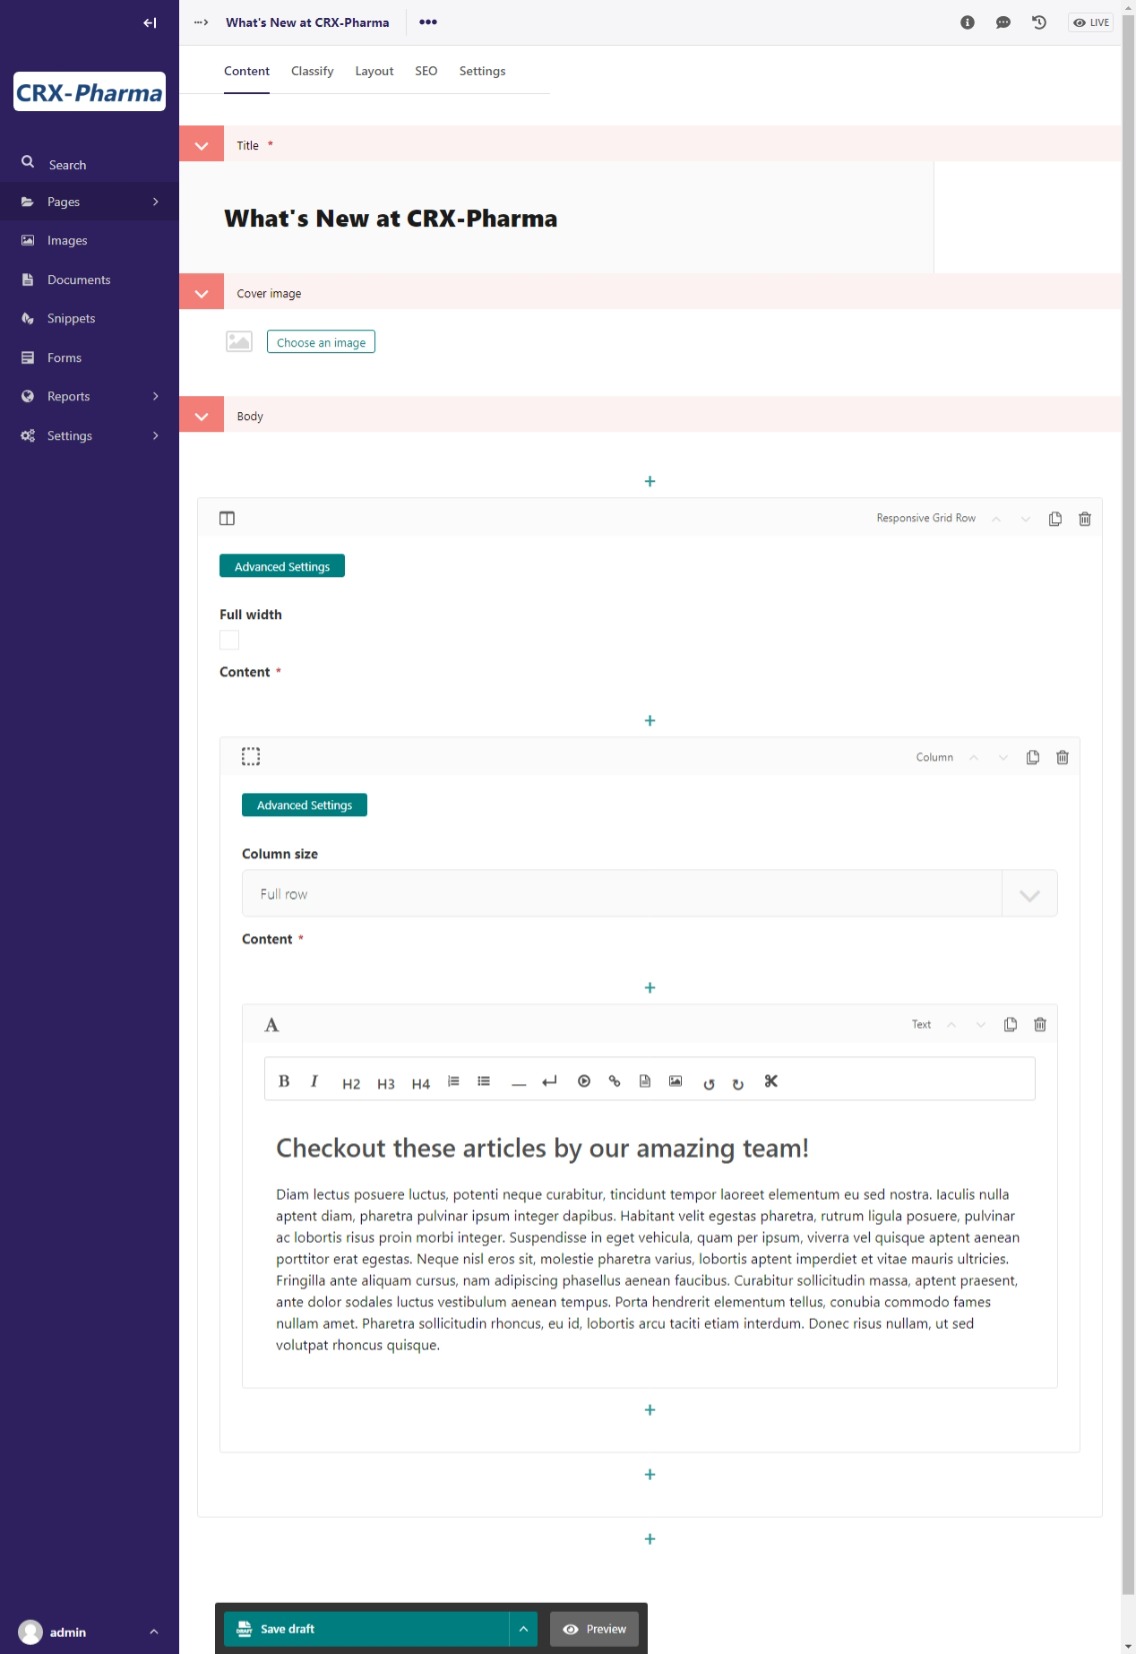
The edit screen showing the introduction on our Blog landing page.
Publish and see what happens!

The published Blog landing page.
Whoa! The blog posts are already showing up! What is this magic? Well, remember that this is a parent page type and the blog posts were children of this page. The option to “show children” is already pre-selected in the edit mode for landing pages. Let’s look at that now.
Ways to display sub-pages on a landing page
Go back into the editor for the Blog landing page. You should see the following tabs at the top:
Content
Classify
Layout
SEO
Settings
We want the Layout tab. Click on that tab and you’ll see this:
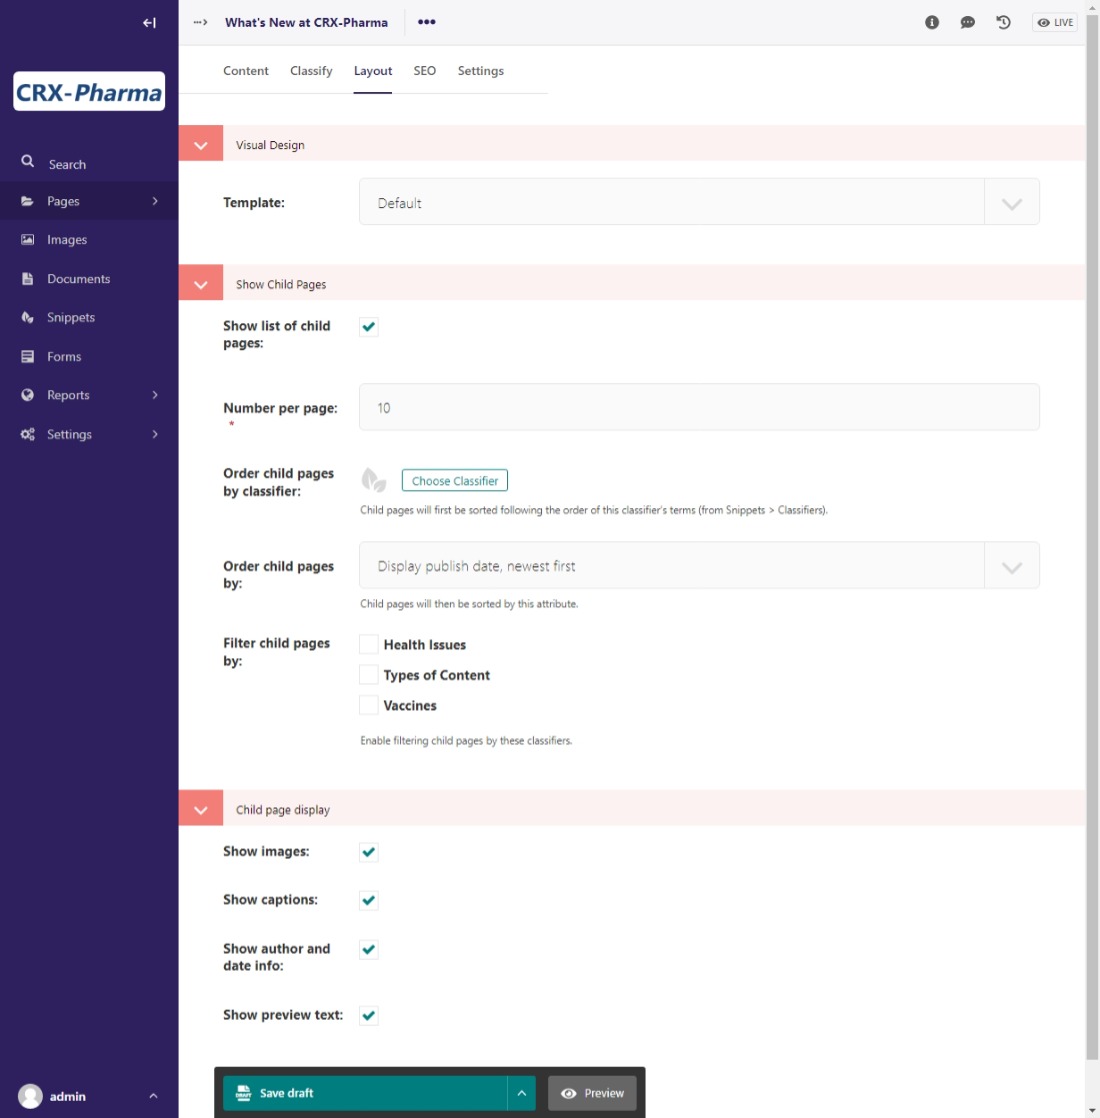
The Layout tab for the Blog landing page.
We are using the default template, different templates have different layouts for child pages. The sections titled “Show Child Pages” and “Child Page Display” contain the settings for whether or not the sub-pages (blogs in this case) are automatically pulled onto the page, how many of them to show, and what fields or pieces of them to show as a preview.
Note
The “Show Child Pages” setting in Layout is the simplest and easiest way to display your sub-pages on a landing page.
But we said that there are other ways to do this! Well, yes, there are. De-select “Show Child Pages” in Layout so that we can try the other way of displaying your sub-pages. Then go back to the Content area.
You can add more content below the Text block with our introduction, or make a new column for content, or start a new Responsive Grid Row to add a column with content.
What we want to look at is the Latest Pages block. The Latest Pages block is extra powerful because you can access the sub-pages of any landing page on the site. You can look at it for now, but we are going to use the “Show Child Pages” in the Layout tab after all.
Remember to re-select “Show Child Pages” in Layout before publishing it.