Tutorial Part 1: Site Name, Logo, and Global Colors
Note
For this tutorial, we will assume the name of your project is mysite and you started using the pro template.
After Installation, you are greeted with a bare-bones website. Let’s start filling things out.
Logging in
Navigate in your browser to http://localhost:8000/admin/ and log in with the username
and password you created with the python manage.py createsuperuser command.
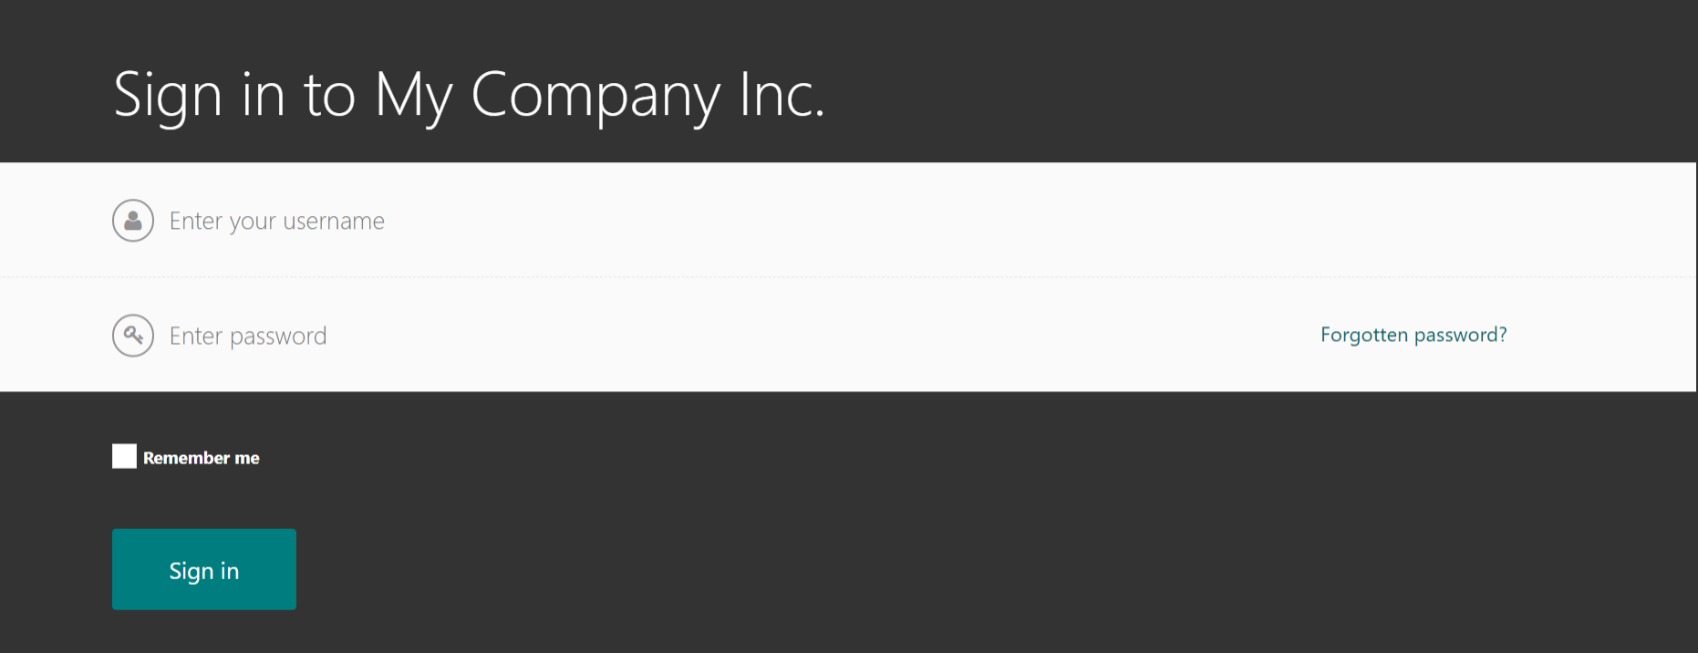
The login Screen
After logging in, you will be taken to the admin dashboard - also known as the “Wagtail Admin”.
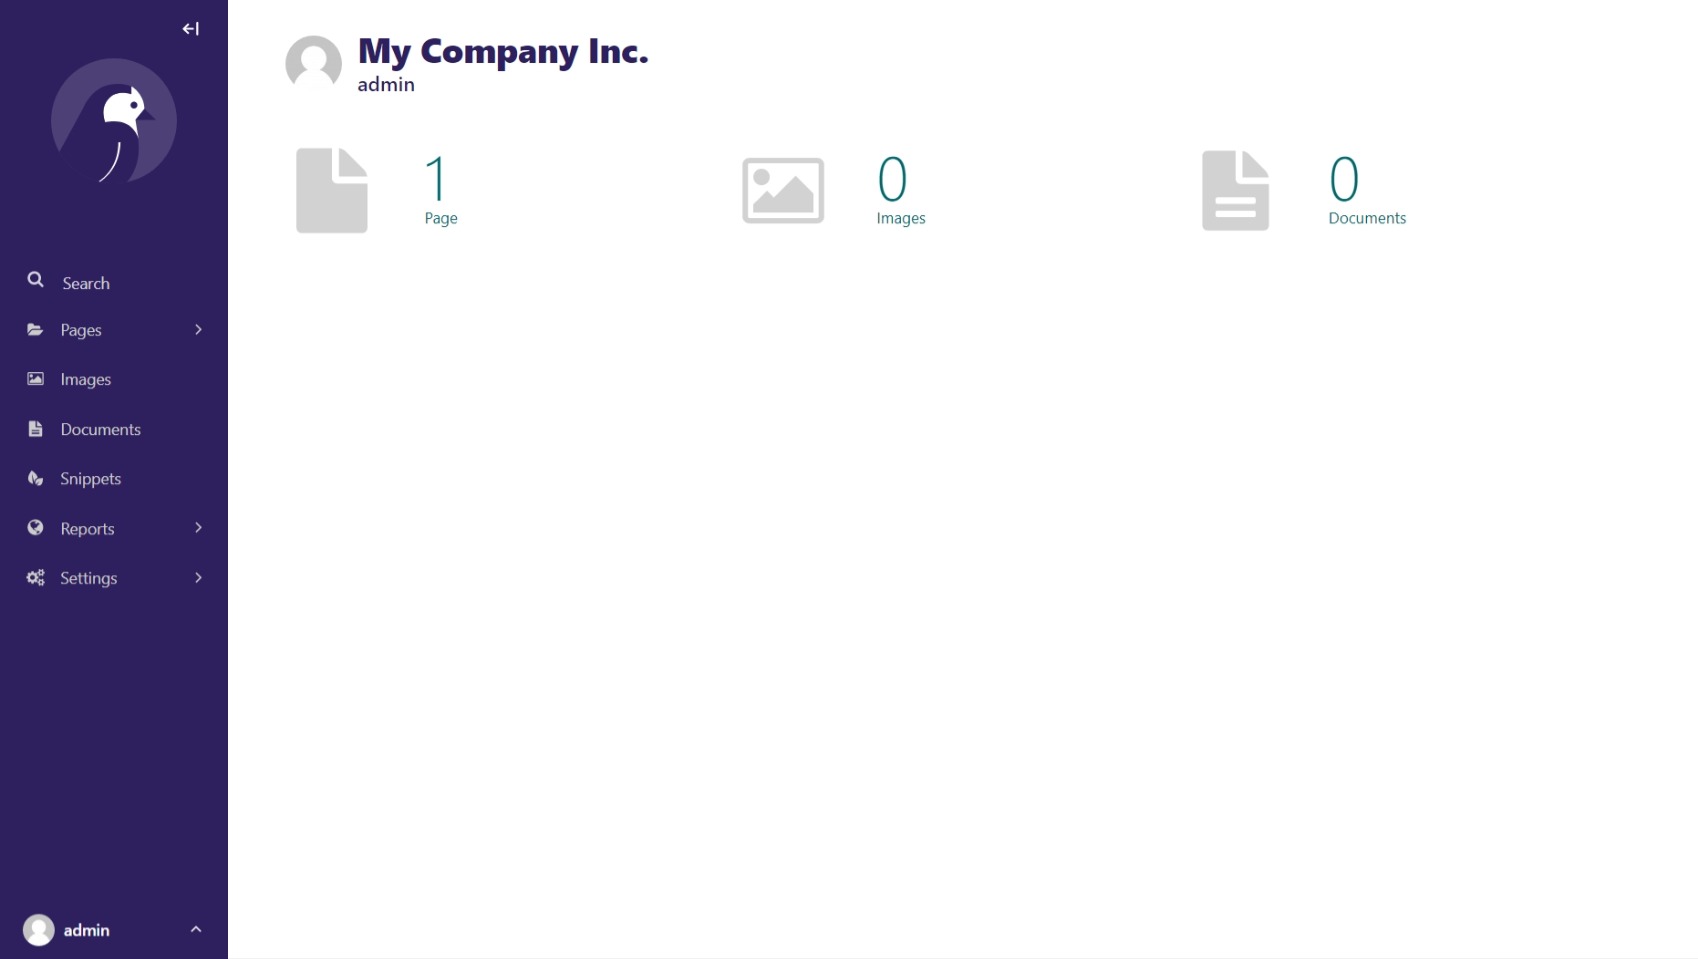
The admin dashboard.
Changing your site name
By default, the site name shows up in many different places, including page titles in the browser tab. To change the name, go to Settings > Sites, and click on the site that is there. Change the Site name setting and click “Save”.
Note
There is also a WAGTAIL_SITE_NAME setting in the mysite/settings/base.py file. This is really
only used for the login screen and on the main Wagtail Admin dashboard. The reason this setting exists
is for use with multi-sites. For example, if you have a parent company that operates many separate
brand websites within one CMS, then WAGTAIL_SITE_NAME would be the name of the parent company.
For this website, Let’s change the name to Settings > Sites > Site name to “CRX-Pharma”.
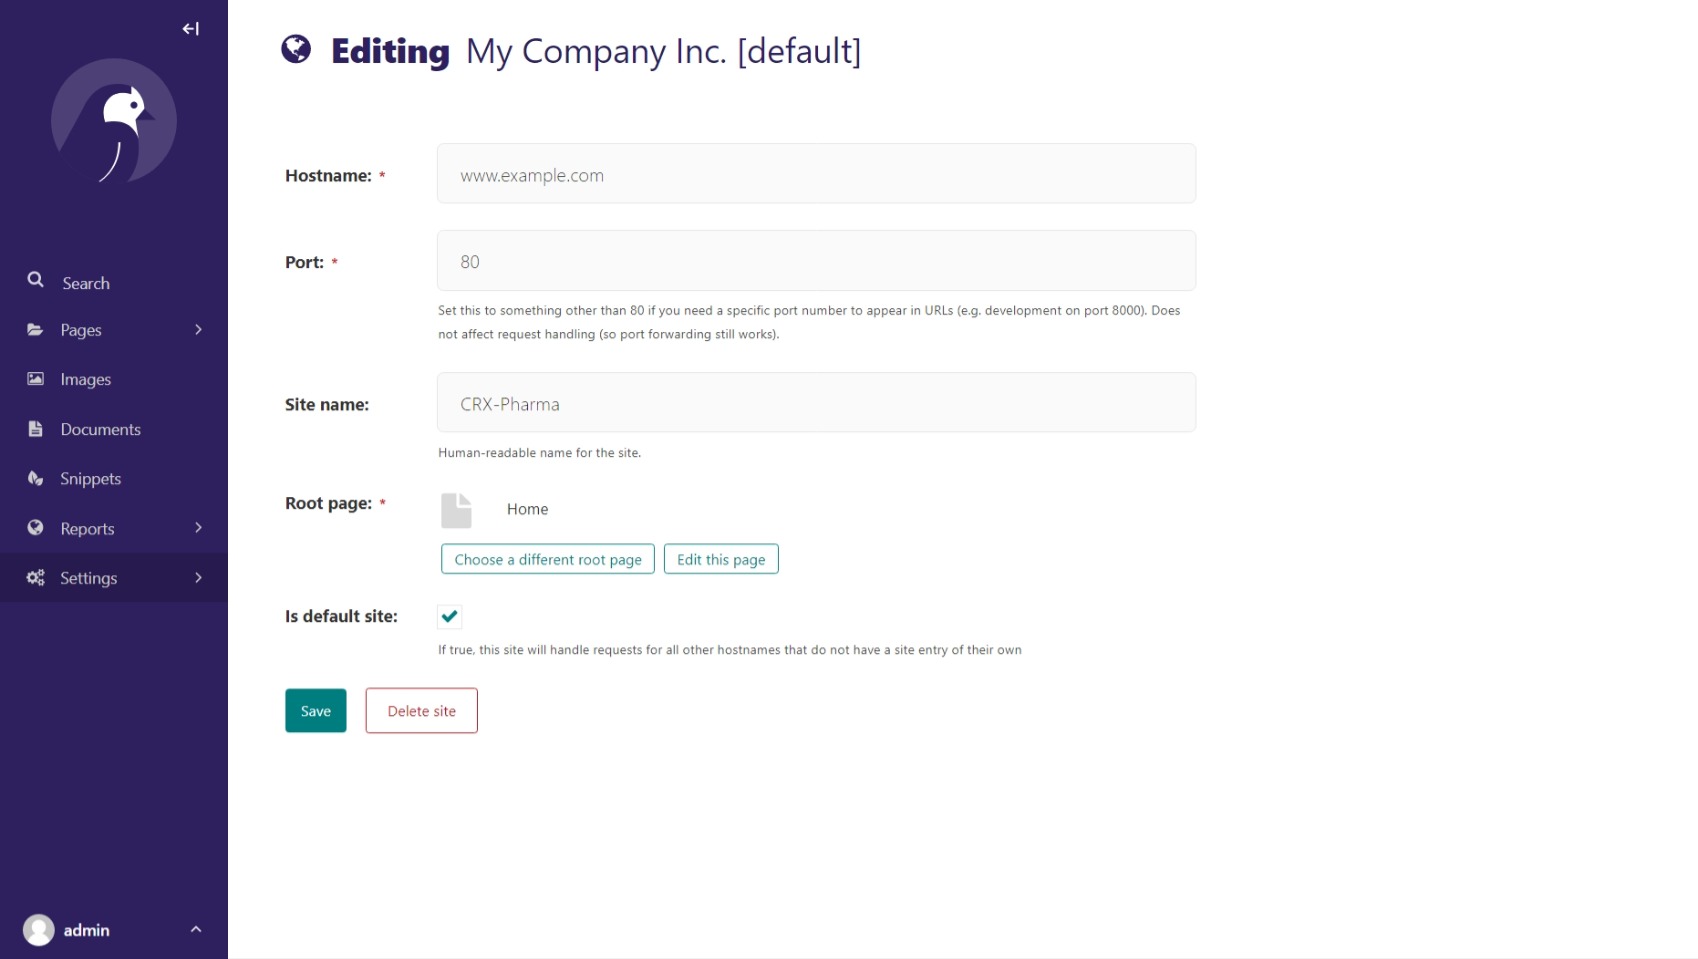
Changing the site name.
And edit mysite/settings/base.py by changing WAGTAIL_SITE_NAME as so:
WAGTAIL_SITE_NAME = 'CRX-Pharma'
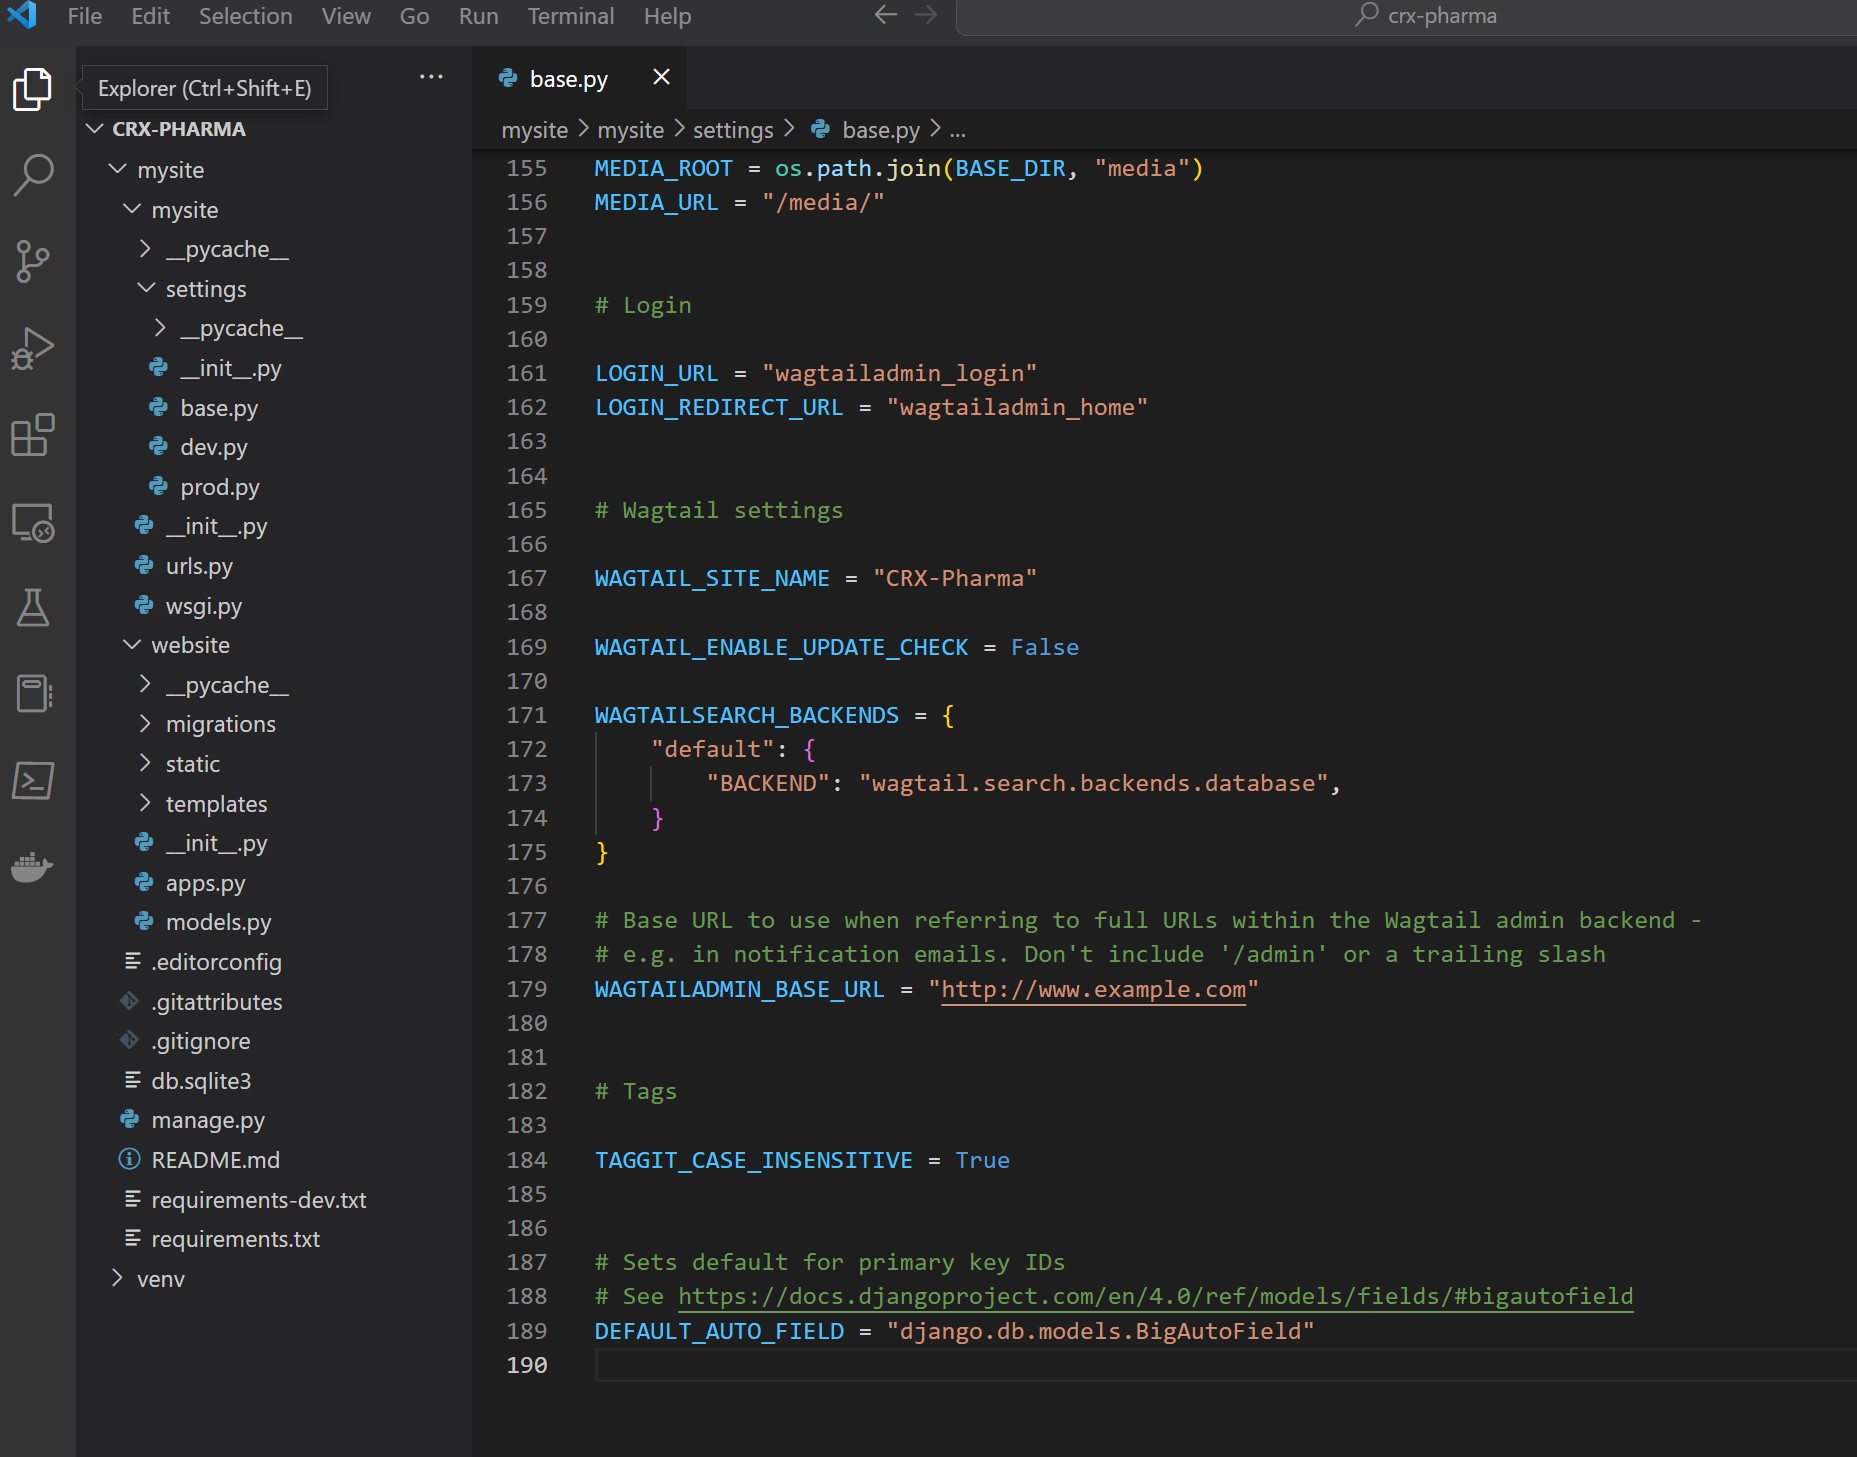
Changing the site name in base.py
Now the admin dashboard, login page, and Home page (at http://localhost:8000/) will show “CRX-Pharma”.

Updated Settings
Adding your logo
First, and most important, is the logo. Go to Settings > CRX Settings, where there are site-wide visual and design settings for your website. At the top, are two settings for your logo and favicon. Both will be scaled to fit wherever they are used, but we recommend the following image parameters:
Logo: probably does not need to be any larger than 500x500 pixels, unless you plan to have a giant logo. Any image ratio is fine, logos come in all shapes and sizes.

Right click and download this image to follow along.
Favicon: does not need to be any larger than 200x200 pixels. A 1:1 (square) image ratio is best here - if the image is not square, it will be scaled to a square.

Right click and download this image to follow along.
Note
We recommend PNG format at 300 DPI so that your logo will look sharp on high resolution mobile devices and retina displays. However, any image format will work.
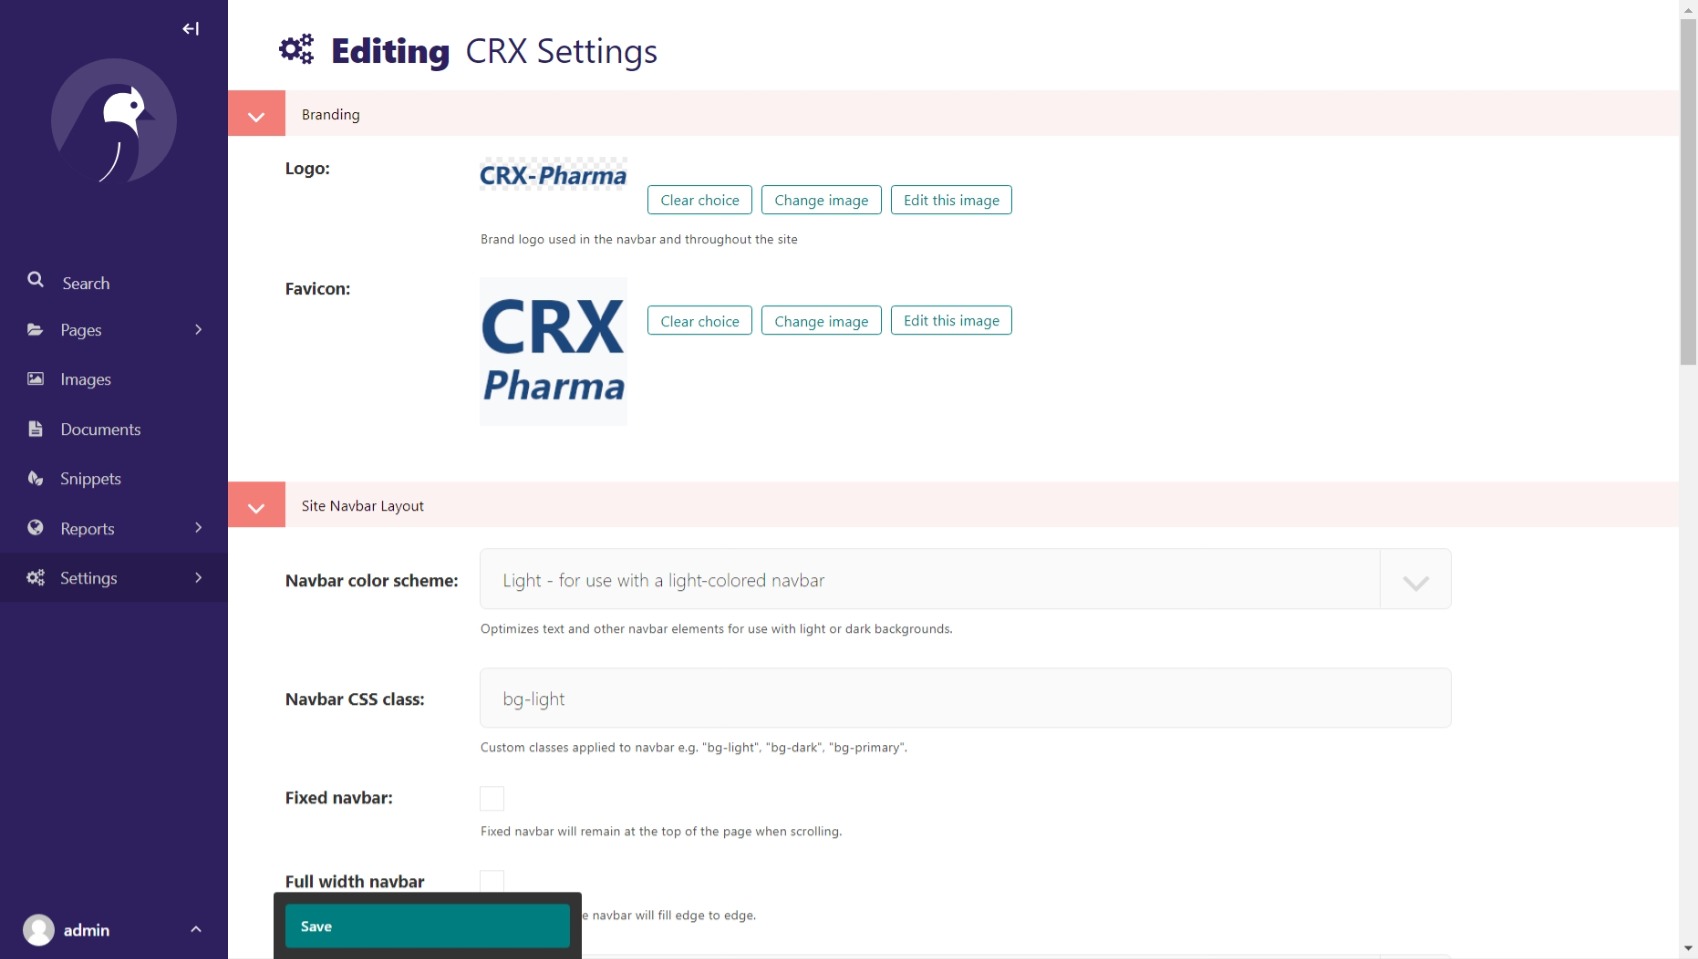
Adding the logo.
After uploading your logo and favicon, click “Save”. You should now instantly see your logo applied in the dashboard. In a new browser tab, go to http://localhost:8000/ and you’ll see that your logo and favicon show up on your site.

The logo on our website.
Global Site Colors with Sass
For CRX-Pharma we will change the website’s global colors with Sass. This a great way to get the exact colors you want for your site. In your file explorer, Navigate to mysite>website>static>website>src>_variables.scss . In this file, we can override the primary and secondary colors. It’s suggested you read through the comments on this page. We are going to make the following changes:
“Uncomment out” line 22 and change $blue to #1b477d
“Uncomment out” line 23 and change $gray-600 to #1e8752
“Uncomment out” line 36 and change $white to #a4f1e9
The edited _variables.scss file show now look like this :
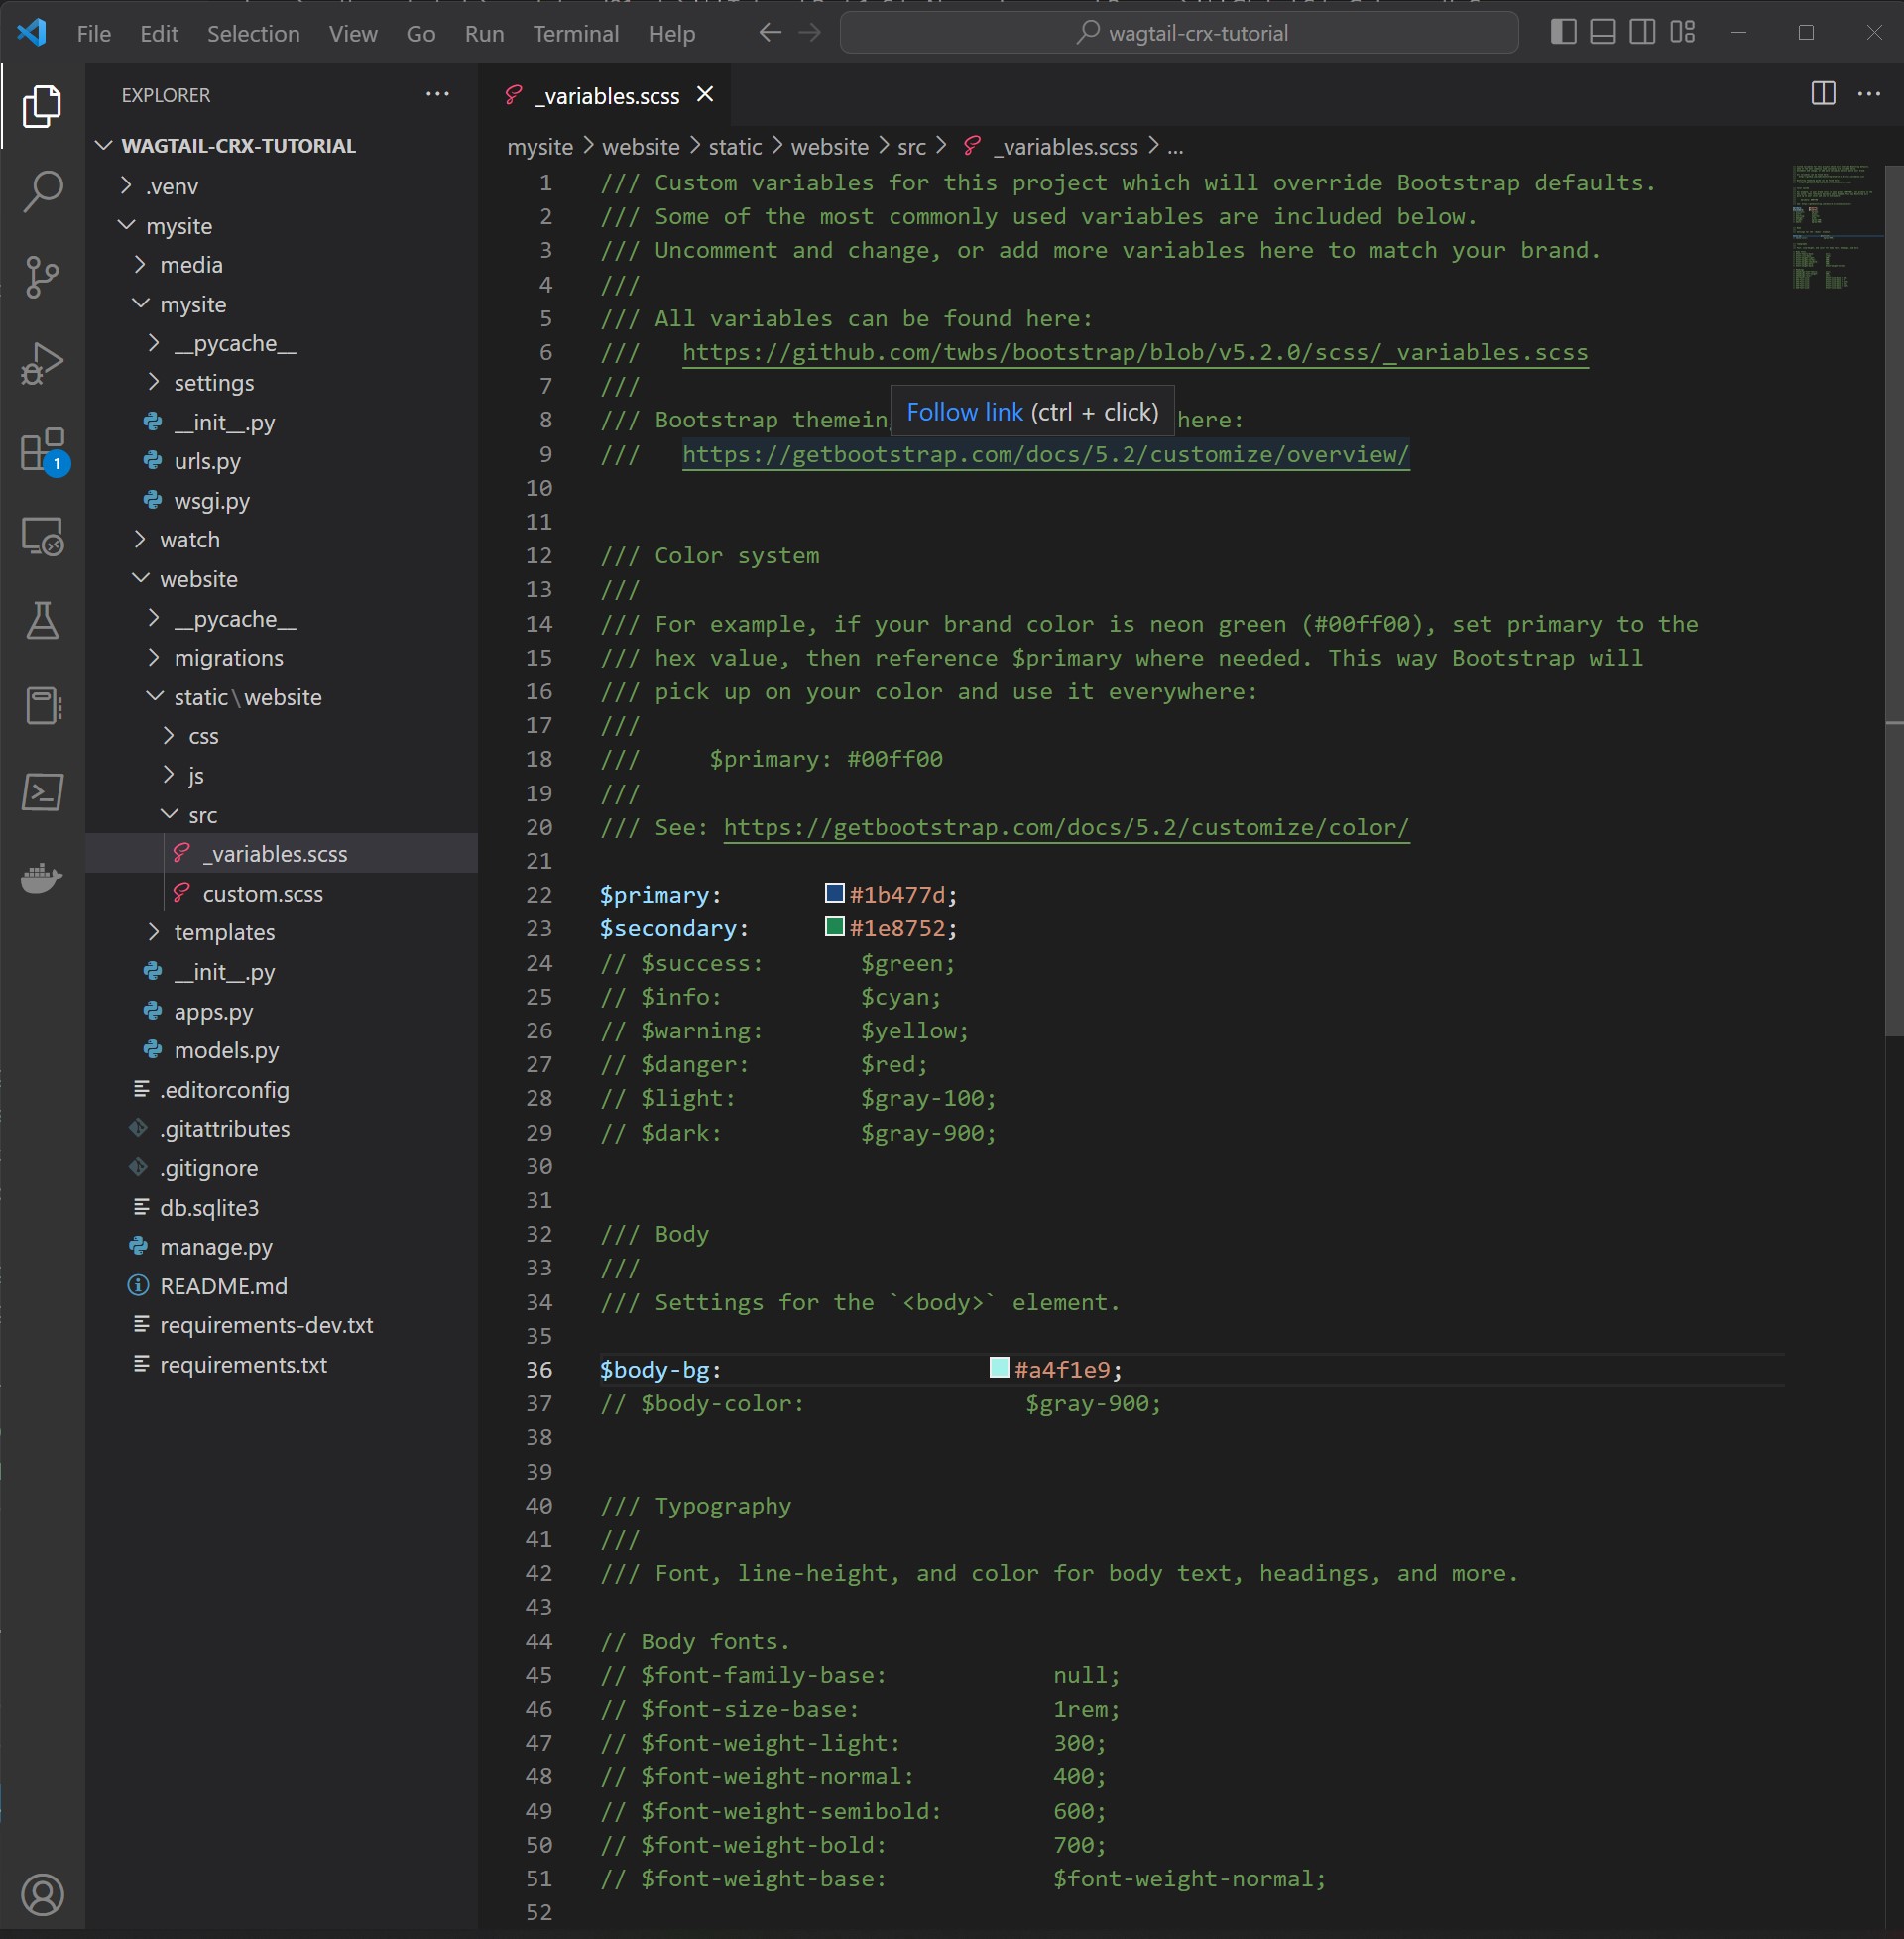
This screenshot was taken in Visual Studio Code. Your code editor may look different.
The final step is to compile the sass. In your terminal:
Stop your server with ctrl + c.
Run:
$ python manage.py sass website/static/website/src/custom.scss website/static/website/css/custom.css
Restart server with python manage.py runserver
This is what my terminal looked like following those steps:

This screenshot was taken on Windows using PowerShell. Yours may look different.
Now hard refresh your browser at http://localhost:8000 and you should see the new background-color:

The global colors have been updated!
Note
The background color in the search input is not ideal and will be addressed in the part 3 of the tutorial. The goal of the this section was to demonstrate how to use bootstrap variables to change global properties. You can now use bootstrap classes with “primary” or “secondary” and our new colors will override the defaults. Buttons are a great example of this. When adding a button or button link, they are options for style. The default style is “primary” which references the sass variable we set in the _variables.scss file. So with one line of code, anything that references primary will be dark blue (#1b477d).