Tutorial Part 10: Images
The Media you add to your site in the CMS is an important part of your page design. Images catch people’s eyes, and good images make good impressions. Let’s go over some ways that you can optimize your images for your website.
Preparing your images for upload
The CMS will accept the following file types for images:
GIF
JPEG/JPG
PNG
WEBP
If your image is not saved in any of these formats, you need to convert your image or save your image again in one of these formats.
To keep your website fast, large image files should never be uploaded. If your image file exceeds 10.0 MB, it will not be able to be uploaded. You will need to decrease the file size. This can be done using an editing program, like Photoshop or GIMP (free). You can also use sites like BeFunky to re-size your images. Make them smaller by changing the dimensions of the image.
Note
Photos should ideally be no larger than around 200KB to 300KB. A file size that is too large will slow down your site. Ideally, images published on a website should not be more than 2,000px for the width or the height. Check out this awesome tutorial on Image Sizes from Shutterstock to learn more.
In some cases, you may want to crop your image so that the part that you want to focus on is more in the frame.
Ways to upload your images
While you have already practiced uploading images from within the page editors, you can also upload images in bulk. Go to Images from the admin bar. There, you will see images you have already uploaded. You can click on an image to see additional options for that image. You can also click Add an image, that takes you to a screen to either drag and drop your images into the upload area, or upload them from your computer using the upload button. Use descriptive names and/or image tags for the images so that you can easily search for them and use them in your pages. These tags are for admin use only — they do not appear anywhere to visitors of your website.

The upload admin for Images.
CMS editing tools for images
While the majority of your image editing should be done in an actual image editor, Wagtail does provide some tools to help you optimize your images for your site.
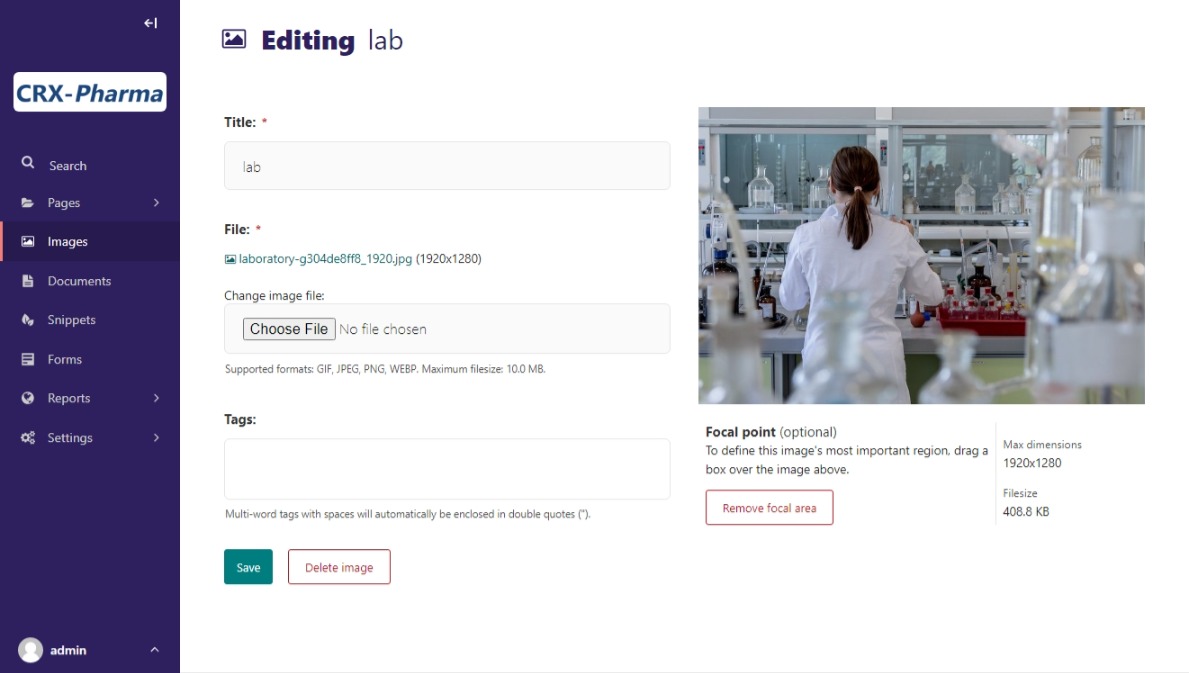
The CMS editor for Images.
The title can either be the name of the image or a custom title. You can also add tags to your images for easy searching in the CMS. The Focal Point is optional, but it defines the image’s most important region. Move your cursor over the image while you see a + sign, then release your cursor or mouse when you have finished defining the focal point.