Tutorial Part 2: Adding Content
Now let’s start adding some content to our site.
Adding a hero unit to the home page
In the admin dashboard, select Pages >. This will open a tree-style view of all the pages on our site. For now, the only page is Home Page. Click the pencil icon to edit the page, or click “Home Page” and then the “Edit” button.
Here in the body section is where we can add our content. Each component in this section is called a “block” and provides a different format of content. Wagtail CRX is heavily based on Bootstrap CSS and its grid system, which means all content is based in rows and columns that dynamically stack depending on the visitor’s screen size.
First, let’s make a big flashy hero unit. A hero unit in Wagtail CRX is a block that allows for a full-width background image or background color, and has lots of padding by default.
Select the Hero Unit block. Next set a background image or color - we are going to download and use this image from Pixabay.
Now to add content to our hero unit, under the Content field select Responsive Grid Row and then a Column. Inside our column, we will add Text and format it.
Next, click the small “+” icon directly below the text field. This will let you add another block directly below the text, but still in the same column.
Select the Button Link block. We are going to add a “Learn More” button. Right now we don’t have any other pages on our site, so for the time being set Other link to “http://example.com”, and the Button Title to “Learn More”.
My editing page now looks like this (ignore the misplaced side menu, that is just a result of the screenshot):
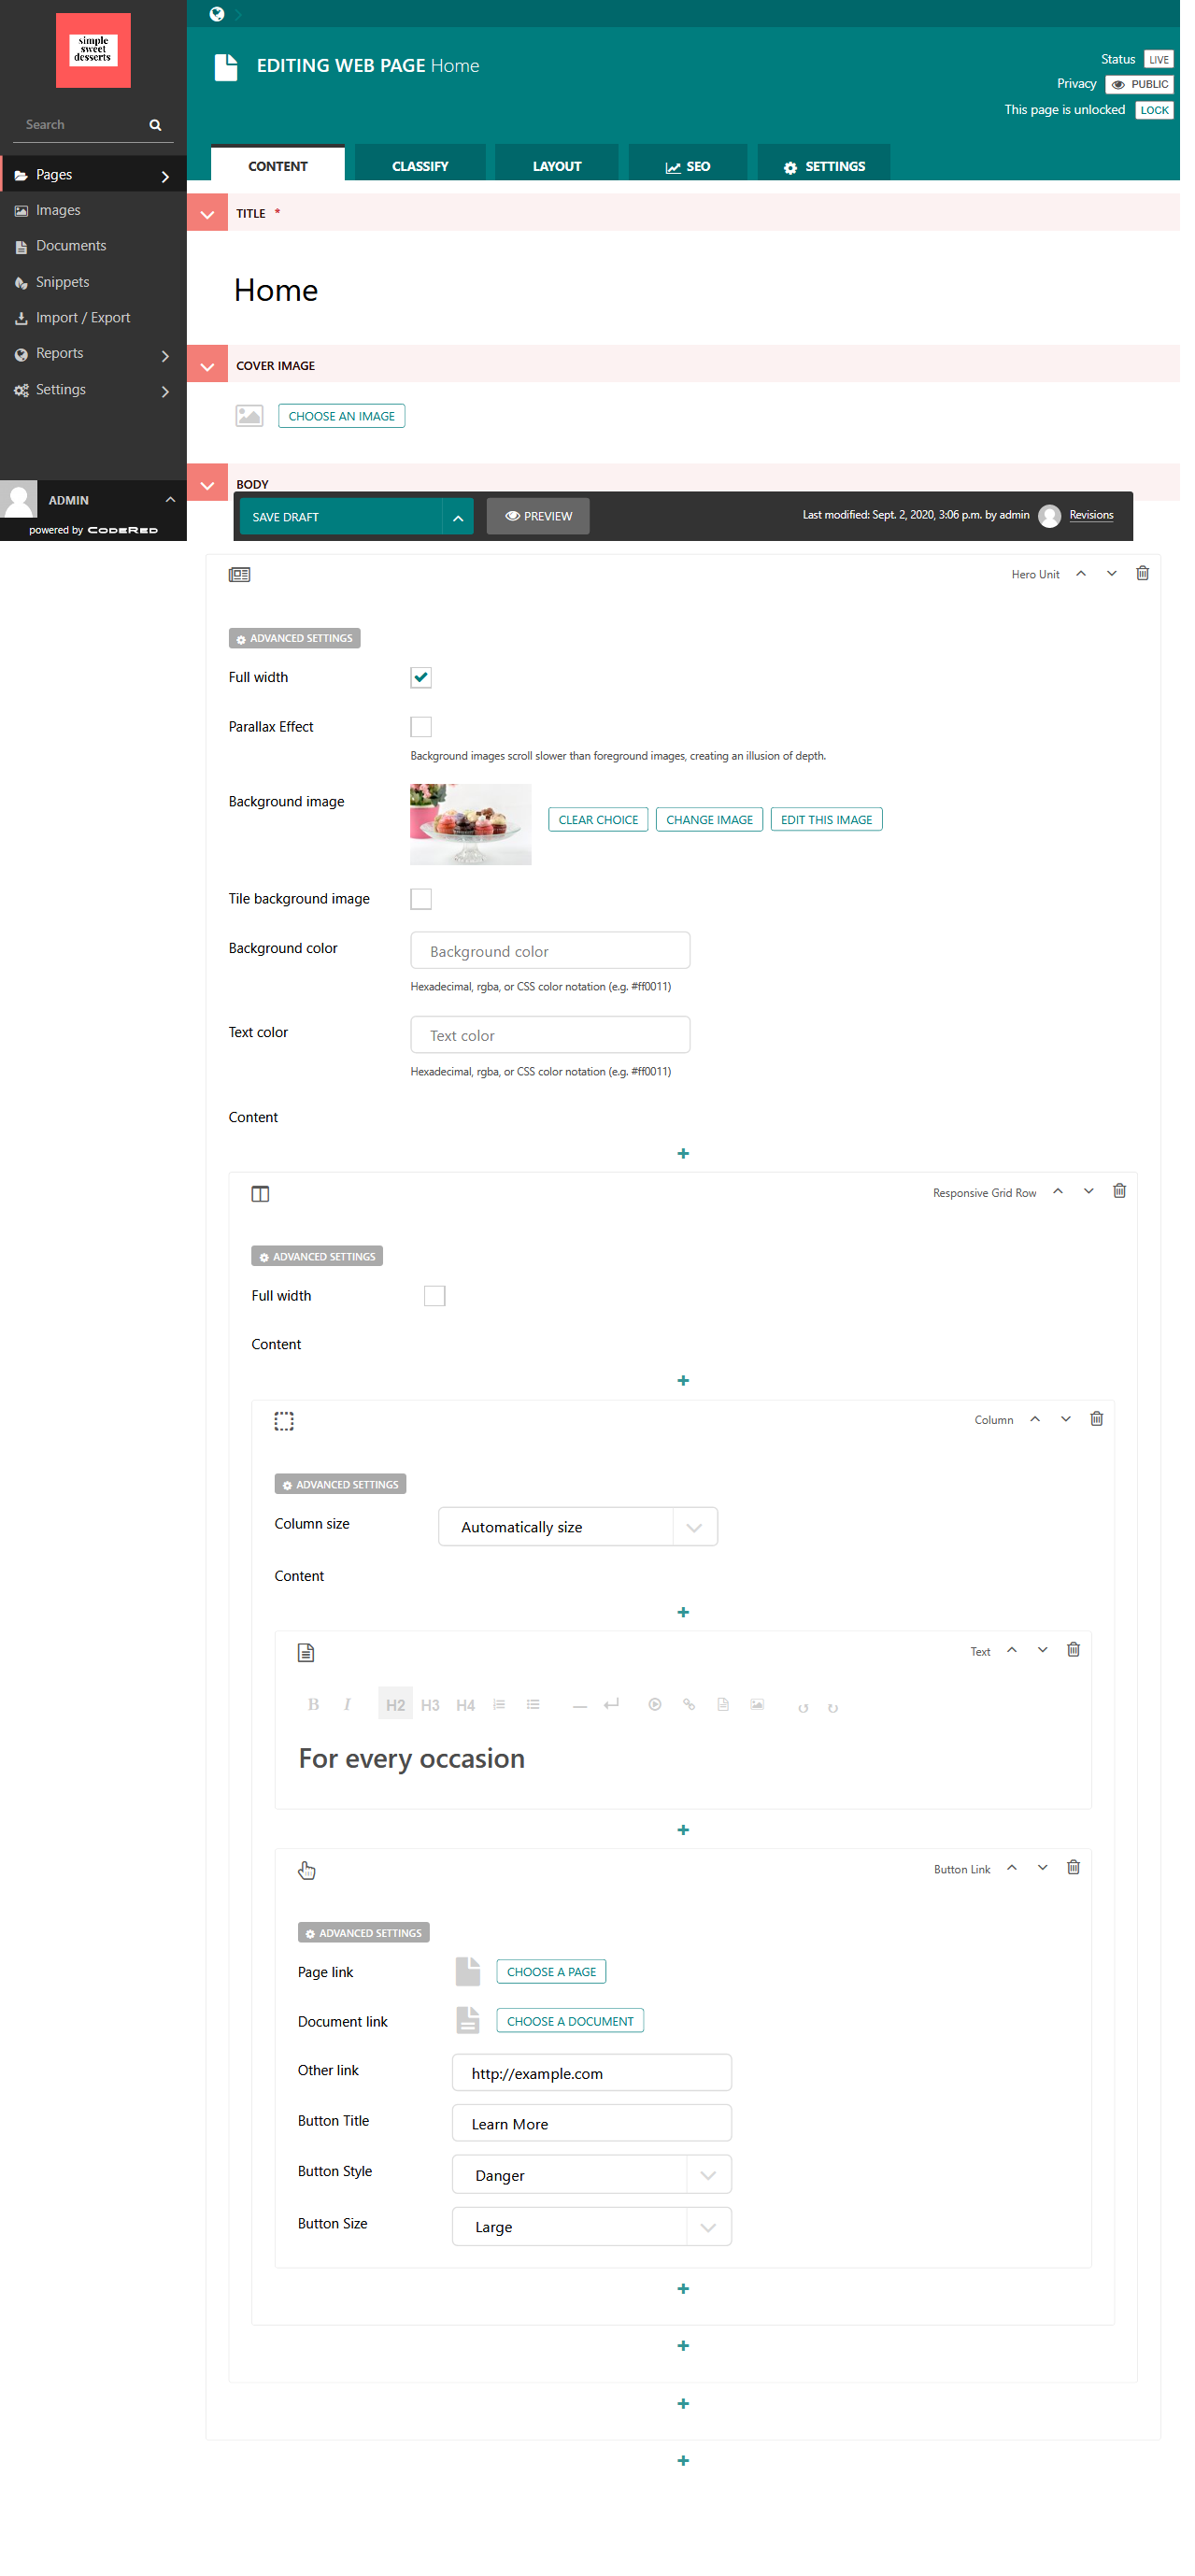
The home page editor after adding a hero unit.
Next click the Preview button at the bottom, which will open up a preview of the home page in a new tab. Great success!

The home page preview after adding a hero unit.
Adding cards to the home page
Next, let’s say our company offers three different baked goods, and we would like to add three uniformly-sized cards on the home page representing that. Go back to the tab with the home page editor. All the way at the bottom of the page, click the “+” icon directly below the “Hero Unit” block. This will add a new block directly below the hero unit.
Select the Card Grid block. The select Card to add the first card. Now fill out the Title, Body, and add a Button Link at the bottom.
Next add and fill out two more cards by clicking the “+” icon directly below our current card block.
The editing page now looks like this (ignore the misplaced side menu, that is just a result of the screenshot):
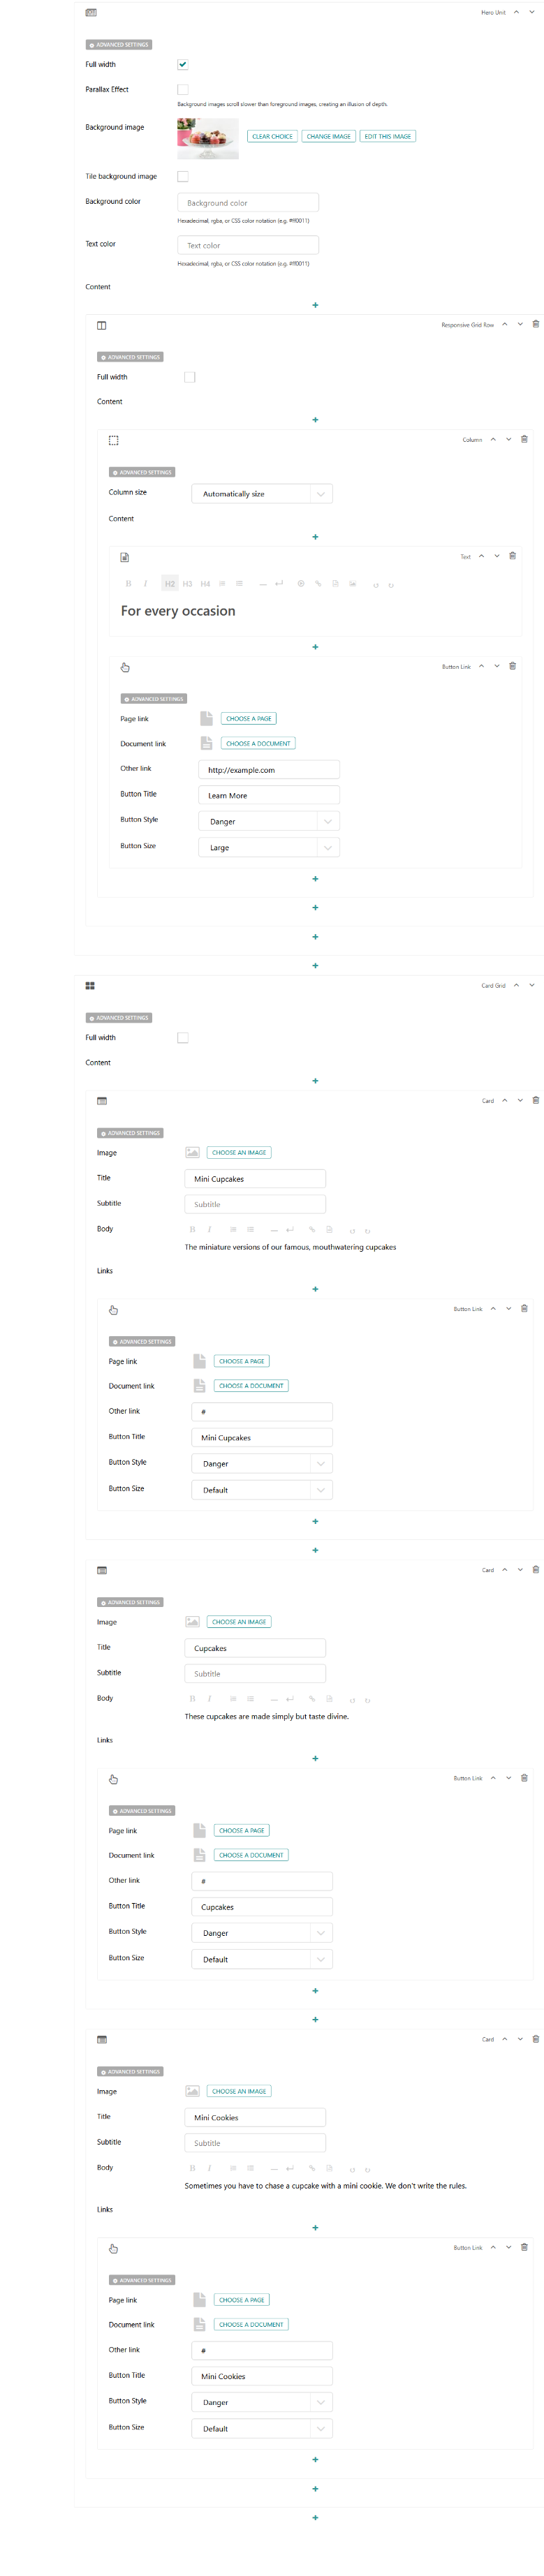
The home page editor after adding a card grid with three cards.
Next click the Preview button at the bottom, which will open up a preview of the home page in a new tab. Lookin’ good!
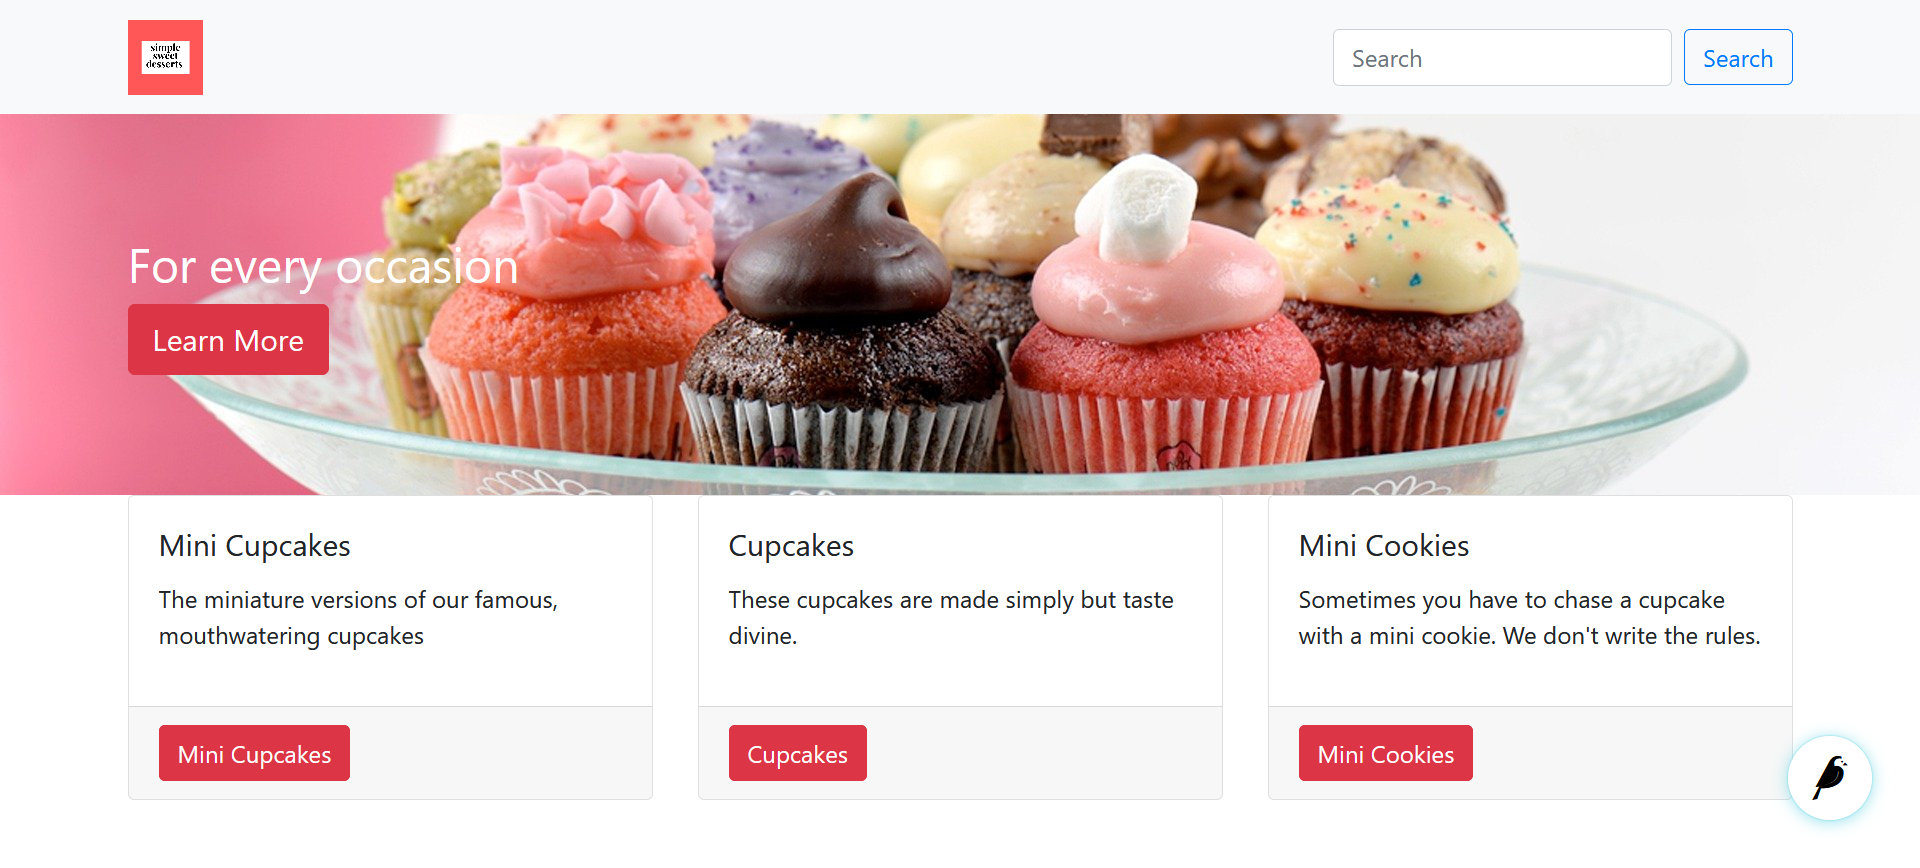
The home page preview after adding the card grid.
Adding more content to the home page
Continue following this pattern to add content. While the Hero Unit and Card Grid provide “special” content formats, the Responsive Grid Row is the most general purpose block for adding content, and you will probably find yourself using it the most all throughout your site. Of course, there is also an HTML block for inserting raw HTML if needed.
When you are finished editing the home page, click the arrow next to the “Save Draft” button and select Publish.

Publishing a page.